

Lifted the thread idea from Vortex, started one on the 201 board... why not here too.
I'll start:
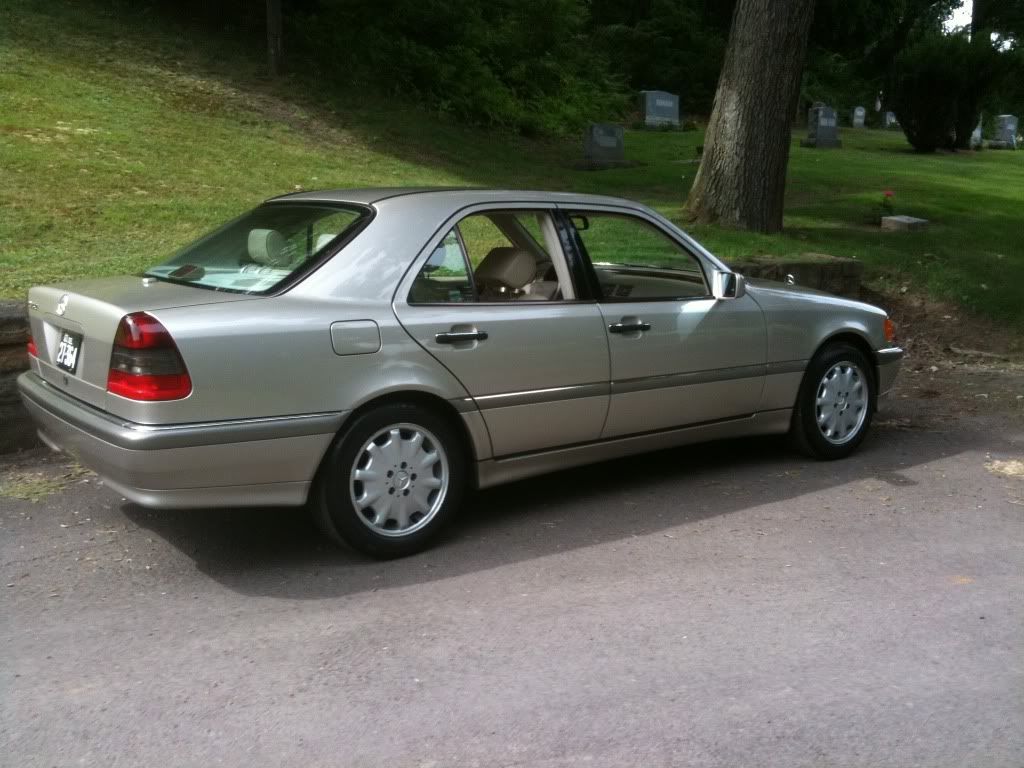
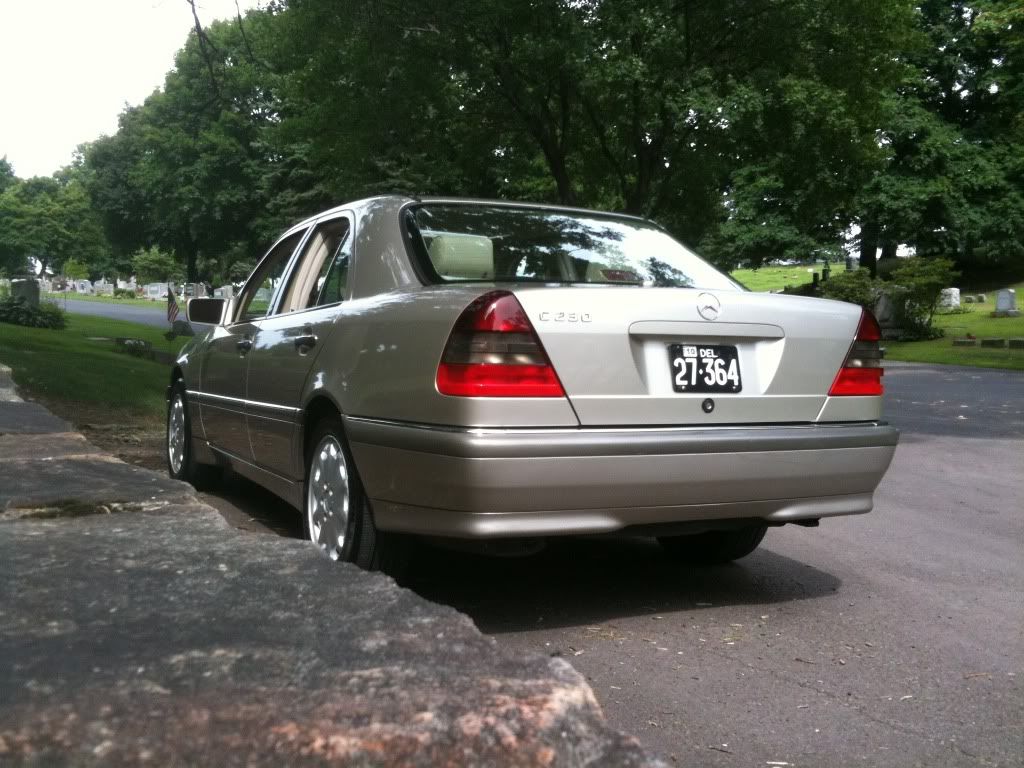
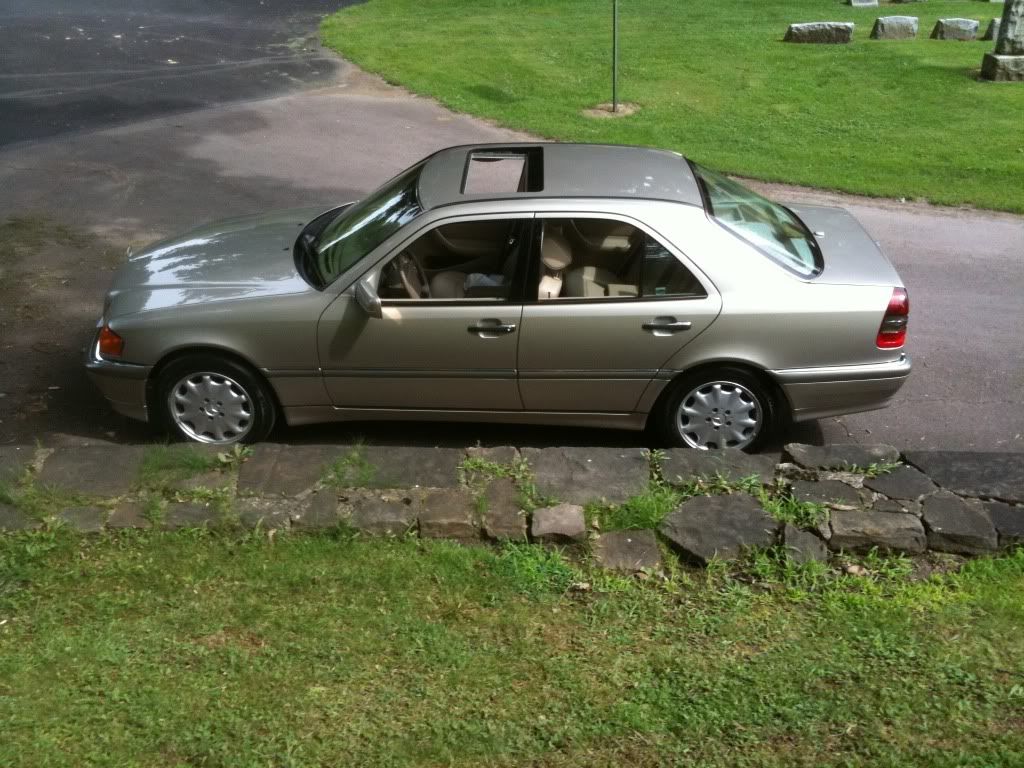
Washed, waxed and steam cleaned the interior of the 202, then I drove my 16V like an ass and took some pictures of the 202 in a cemetery.
![Image]()
![Image]()
![Image]()
Ahhhh... 16V fun. That exhaust note make me wet my pants!
I'll start:
Washed, waxed and steam cleaned the interior of the 202, then I drove my 16V like an ass and took some pictures of the 202 in a cemetery.
Ahhhh... 16V fun. That exhaust note make me wet my pants!


