A couple days ago, in the other family S600, a 1999 model, I touched the exterior mirror control and it fell right through the console. Discovered, as did another poster above, that the plastic clip had been broken at some point, almost certainly by someone in the local independent's shop. Fortunately, the plastic bit was lying in the transmission tunnel, along with the light bulb that should have been plugged in to the ash tray. This part drew sighs, but the job was not without a little cussing, too. Read on.
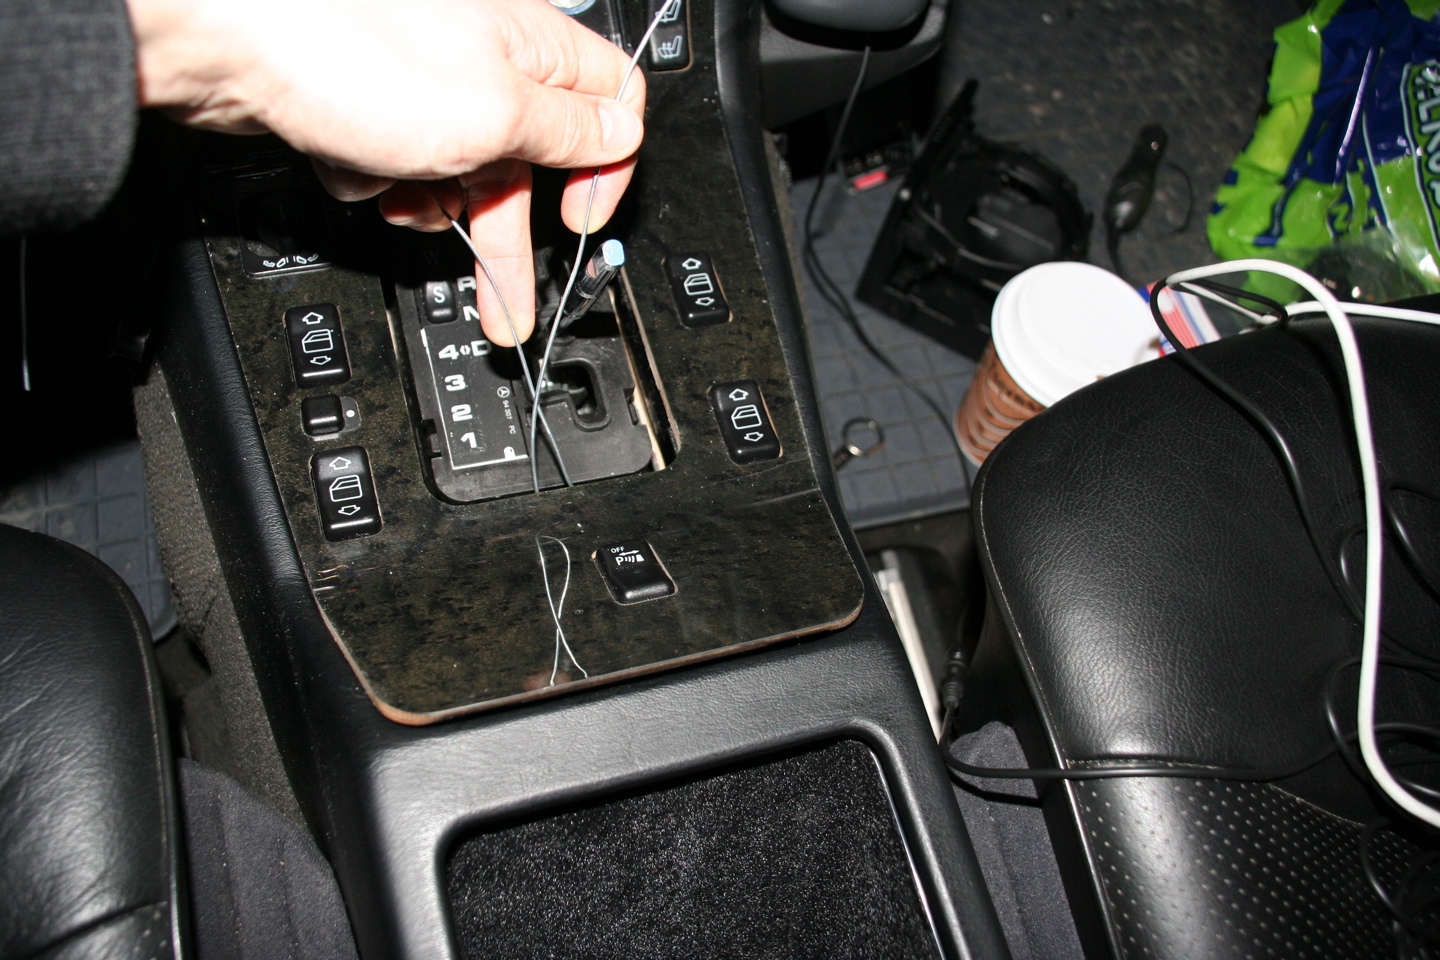
Following the beautiful illustrations in this thread, taking the console plywood out was straightforward. My experience suggests there are a couple other bits of information that others may find useful. First, those of you with the later one-piece panel should be aware that while it is expensive to replace, it is decently thick plywood -- think of the Herman Miller Eames furnishings -- and not especially fragile. It readily flexes and need not be treated with kid gloves, just reasonable care. Second, neither the ash tray nor the shift knob need be removed. The shift surround does need to be popped up, so it can move out of the way but it can remain slipped back on the shifter. If, as was my case, the console has to be taken out of the car for repair, it's useful to label the window switches, as their connectors are identical; the other electric connectors are unique and easily matched with the correct switch.
The only real problem I had was in reinstalling. As could be expected, there was a mass of disturbed wiring harness to be tucked back in without fouling anything else. This, too, was quite straightforward with one exception, the ash tray connection. The ash tray, of course, flips forward and, obviously, the electrical connection for the lighter and tiny light bulb has to be able to move with it.
At first glimpse, it is not easy to see how to reposition the wiring and connector in a manner that won't foul the ash tray's movement. But on careful examination one sees a plastic tray clipped to support hardware in the transmission tunnel located directly beneath where the ash tray normally is. At the rear of the tray is a molded "cut-out" that matches a similar cut-out in the plastic ash tray assembly attached to the plywood panel. This is where the ash tray connector lies so that it may slide easily when the ash tray is opened and closed.
I hope this helps.


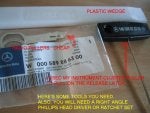


") I hope you can give me advice to fix my problem :bowdown::
I hope you can give me advice to fix my problem :bowdown:: 


