Mercedes-Benz Forum banner

W220 Rear SAM needs replacement; location?

25K views 15 replies 4 participants last post by  haroldwca  
#1 ·
I bought a 2000 S500 about a month ago. Great car, great price, and I knew there would be a few things to work on. After compiling a list of problems and researching them here, I came to the conclusion that I needed a dealer diagnostic. (I won't just throw parts at the car and hope for the best.) The problems that sent me there were the following: Door Open/Trunk Open message all the time; dome lights on even when doors are closed (currently switched off at overhead panel; fuel gauge on empty all the time; no rear lights intermittently; rear defogger not operational. Dealer service department says the rear SAM has been wet (no big surprise there) and should be replaced. As I said, I was hesitant to just replace parts without a diagnosis, but with their confirmation I will now replace the SAM. (I didn't let them do the work because they quoted me $5300. I did not mis-type that: five thousand, three hundred dollars to replace the rear Signal Acquisition Module. Car only cost me a few hundred more than that.)

Today I lifted the right rear seat cushion to check the part number to make sure I order the correct part. I couldn't find the SAM. After I lifted the black insulation, the part I saw turned out to be the rear seat control module. Next to it was a Motorola device that I assumed was part of the phone system, and on the other side was the anti-theft alarm sensor computer. I looked at the encyclopedia for W220's and I saw Skylaw's photos of the SAM under the RR seat cushion. What I see under my seat cushion doesn't resemble the photo. Could it be that there is that much difference between a 2000 and a 2005 model? That's the year of the W220 in Skylaw's avatar, so I assumed that's what the photos were from.

I know there are other SAM's on the car, but the dealer service department specifically said the REAR SAM was the one needing to be replaced. My question is do I have to remove anything to find the SAM or am I not looking in the right location? I didn't remove the rear seat brackets or anything else that would require unbolting. I don't mind doing that, but I don't want to field-strip this car if I don't have to.
 
#3 ·
More specific information needed

Saleen, thanks for the quick response. As you were suggesting, I am double-checking the dealer diagnosis. They said the contacts were corroded from moisture. I wanted to see for myself. That being said, I am still stuck on the location. I know everyone says the SAM is under the right rear seat, but my question was more specific. I have already taken out the right rear seat cushion and noted what I found in OP. Is the rear SAM under or behind those other items? If it is not easily visible by simply removing the rear seat cushion, what else has to come out?
 
#4 ·
Saleen, thanks for the quick response. As you were suggesting, I am double-checking the dealer diagnosis. They said the contacts were corroded from moisture. I wanted to see for myself. That being said, I am still stuck on the location. I know everyone says the SAM is under the right rear seat, but my question was more specific. I have already taken out the right rear seat cushion and noted what I found in OP. Is the rear SAM under or behind those other items? If it is not easily visible by simply removing the rear seat cushion, what else has to come out?

I believe sam is the whole unit with fuses and relays on it. Do not expect only black box. It is the complete unit that fuses attached. Thanks


Sent from AutoGuide.com Free App
 
#5 ·
There is one item visible that has a couple of fuses attached. The part number is 220 820 10 26. This number seems to cross-check as the Rear Seat Control Module. I have not seen anything to indicate that the Rear Signal Acquisition Module is also called the Rear Seat Control Module. If this item is not the rear SAM, then I am back to my original question. The right rear seat bracket is preventing me from lifting the black insulation pad further in order to see if the SAM is further to the rear of the area. Do I need to remove the rear seat bracket in order to find the SAM? I am not trying to make this difficult. I am just not seeing what all the information seems to indicate that I should be seeing. But that's what makes this car hobby interesting, isn't it?
 
#6 ·
There is one item visible that has a couple of fuses attached. The part number is 220 820 10 26. This number seems to cross-check as the Rear Seat Control Module.
That part number IS the rear seat control module - but I do not think that you should see any fuses on it...:confused:

This is the WIS drawing of the rear SAM location. (N10/8)
 

Attachments

#14 · (Edited)
Nice to know, except . . .


Thanks for the input. All sources seem to indicate that is the part number that I need. Here's the problem. I have finally located the SAM, but the part number on the unit I just removed from my car is A 020 545 19 32. I had already looked up the replacement part on Pelican and they also listed A 032 545 84 32 as the correct replacement part. I did a reverse lookup on my car's part number and it came back as a "special order, non-returnable MB SAM unit." Can anyone tell me what I have?

I do have a little extra info that may or may not be relevant. When I was still looking for the SAM under my rear seat, I acquired a 2000 S430 that was wrecked. I stripped that car, including the rear SAM. What I found when I raised the back seat was just what everyone was telling me I should see: a single "glorified fusebox" that was easily accessed and removed, PN A 032 545 84 32, just as everyone, including Pelican indicated. What seems to be different about my car (the good one, a 2000 S500) is that it has the individual powered reclining rear seats with airflow just like the front. Much more hardware, many more control units, etc. I went ahead and removed the seat bracket and the top control panel. Underneath was my SAM, PN 020 545 19 32. And evidence of a lot of water.

Later this week I plan to remove the front seat and the passenger side carpet to dry everything out. Afterward I hope to reinstall everything including the replacement SAM. So will this SAM work in place of the one that was "over-hydrated?"
 
#9 ·
In anticipation of replacing my rear SAM, several sources suggest hooking up an external power supply to the car before unhooking the battery. This brings up several questions. First, external source or battery - what's the difference? Voltage is voltage. (Please no dissertations on current vs. voltage or AC vs. DC.) If the system is powered, it's powered, right? What am I supposedly preventing by doing this? Second, if there is in fact merit to this idea, is a home garage type battery charger sufficient? Third, if the other concerns are met, where is the proper connection point?
 
#11 ·
First, external source or battery - what's the difference? Voltage is voltage. (Please no dissertations on current vs. voltage or AC vs. DC.) If the system is powered, it's powered, right? What am I supposedly preventing by doing this?
MB use a 'quiescent current retention unit' to provide just enough current (at 12 volts dc} to maintain the memory of modules that store settings of radio, windows, seats, sunroof, steering, etc. Otherwise these items need re-synchronizing. How to do that is in the Owner's Handbook. MB workshops use the tool to save time -nothing else.

Second, if there is in fact merit to this idea, is a home garage type battery charger sufficient?
No. They put out more than 'quiescent' current.

Third, if the other concerns are met, where is the proper connection point?
The MB unit is clipped to the + and - cables at the battery, before the cables are disconnected from the battery terminals.
 
#10 · (Edited)
I would not bother hooking up a power source since you'll need to reset everything after replacing the SAM

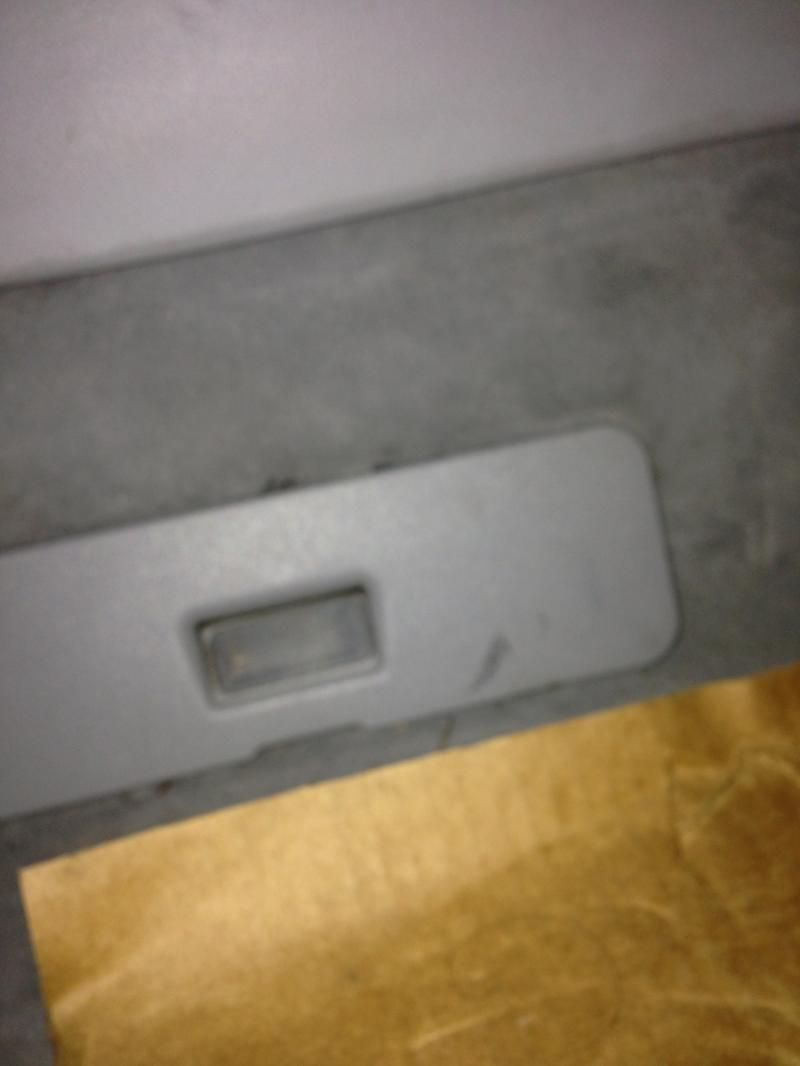
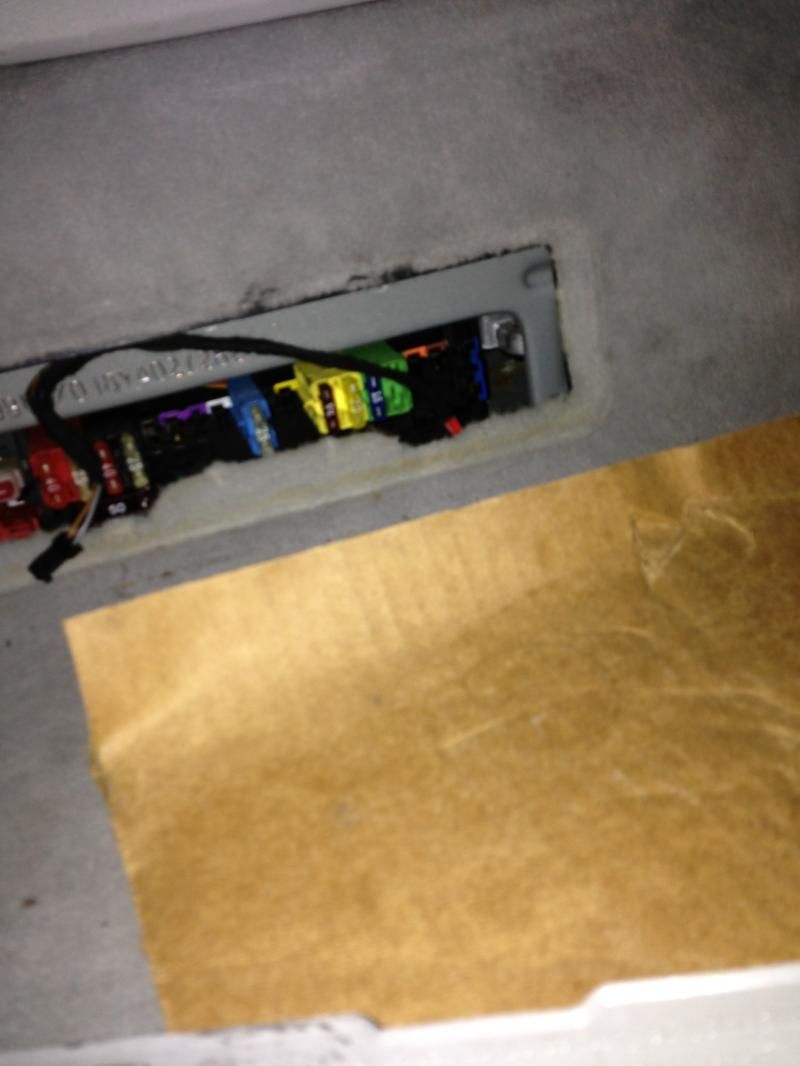
You don't need to remove the seat to find the sam - The Sam can be seen in the lower carpeted area beneath the passenger rear seat - it has a rectangle plastic cover


which opens to reveal the fuses on the Sam


It is not the components actually under the middle of the seat bottom

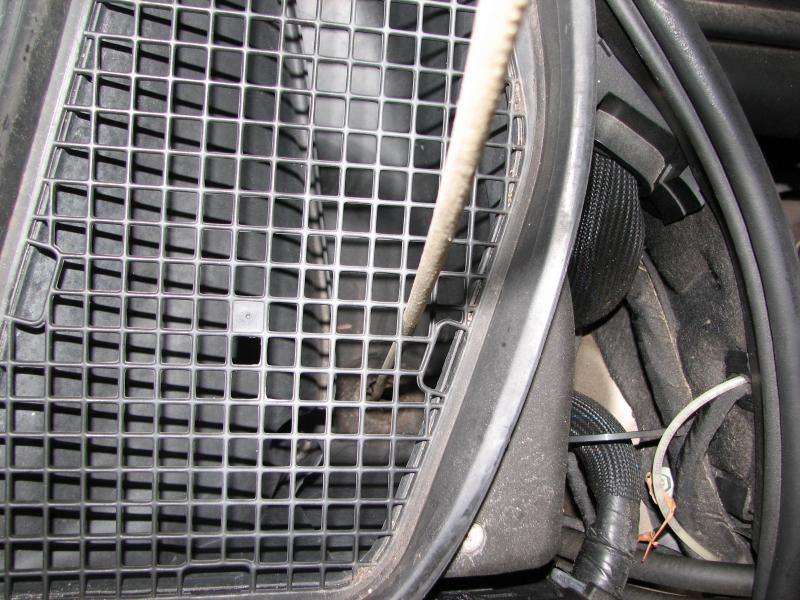
Note that if you have water damage there is likely water in the wiring raceway running from front to back and the wiring harness is water damaged too , result of the clogged reed valve under the windshield.

So first step is to unclog reed Valve as shown


Make sure there is no standing water in that reservoir under the windshield
Pull up passengers carpet front and rear and dry out the wiring harness raceway that leads to the Sam
Make sure the wiring harness is absolutely dry
Then change out the Sam
Putting a new Sam in if there is still any water in there will just destroy it
 
#12 ·
That was excellent information, Keyhole - exactly what I was hoping to find out! Incidentally, I just purchased a wrecked S500 of the same year as mine. It was running before the accident, with no "gremlins" as mine has, due to hydrating the rear SAM. Has anyone had success with a used SAM of the same part number?
 
#13 ·
I have no personal experience of replacing modules - hopefully someone who has done this change will reply here.

However, I am aware that certain units need to be 'married' to the control system when replaced, and I have noticed that, if this is required, the WIS always makes reference to the use of STAR diagnosis equipment as the last step in the installation procedure.

In the case of your rear SAM remove/install, there is no such instruction on the WIS procedure above, so I would assume that it is simply 'plug & play'.
 
#15 · (Edited)
Rain, rain, go away . . .

Pull up passengers carpet front and rear and dry out the wiring harness raceway that leads to the Sam
Make sure the wiring harness is absolutely dry
Then change out the Sam
Putting a new Sam in if there is still any water in there will just destroy it[/QUOTE]

It's raining intermittently here today so I thought it would be the perfect time to replace a SAM unit that was detroyed by too much water! In between the showers I have removed the front seats and carpet. Wow is there ever a lot of padding under this carpet! Nowhere is it less than 1/2 inch thick, or about 1 1/4 cm for you folks across the pond! In some places it is much thicker. I can see that the padding fills in the uneven areas of the floor due to electrical conduit, ductwork, and body bracing. It also provides absorption for a massive amount of water - massive at least for the inside of a car. The bare carpet section weighs 30 pounds with all the water. Let's see, in kilograms that would be . . . oh heck, it's heavy! I have the entire large section of carpet laying in my bathtub for the moment. I figure that as long as I have it out, I'll clean it with something suitable for automotive carpet. At least it's tan so I'll have a challenge getting it clean; black would have been too easy!

I also removed the front footwell carpet on the passenger side and discovered there is a piece of firewall insulation (that's what we would call it if this were a classic GTO or a Mustang anyway) that was holding a significant amount of water, so it's coming out too. The one thing I have to say positively about this water intrusion is that there is virtually no evidence of rusting on the floorboard. If this were any other vehicle I've ever worked on (classic American cars and pickups, mostly) the floor paint would be peeling and rust would have already begun. Kudos to Mercedes on whatever they do to prevent oxidation.

By the way, yes I have made certain that the reed valve in the airbox area on the cowl is unclogged. I saw a post somewhere that showed drilling a couple of holes in the side of the airbox to allow water to escape even if the reed valve becomes clogged. I'm going to look into it, but I don't know how effective a small hole would be. In a strong downpour it looks like the area could fill up quickly. Prevention by consistent cleaning seems to be the best remedy.

In disassembly mode I'm focused on keeping track of what goes where. When I begin to reassemble I will photograph the process and show details of what had to happen and when. Still uncertain about the SAM part number question in post #14 , but at least the drying out process won't have to be repeated if I have to order a different SAM. Now if the rain will ever stop . . .
 
#16 ·
Play it again, SAM!

Still uncertain about the SAM part number question in post #14
I'm not uncertain anymore. I just replaced the SAM unit with the one from the wrecked S430. It was plug-and-play. Now my fuel gauge and brake lights work, there is no more jittering of the seat belt retractor at right rear seat, and the dome light now shuts off once the doors have closed. No way to test the rear defogger, as it is in the 70's in the day and 50's at night. Seats are still on garage floor and the carpet is still spread out on patio, drying. I will photo the reassembly process and post when done.

This was a time-consuming process, mainly because of the drying time. But if a dealer quote or even an indie quote seems too high, it is definitely do-able by the experienced DIYer. There was surprisingly little hardware holding in the trim. It is, however, necessary to remove both front seats and the console in order to remove the carpet. And yes, removing the carpet is necessary to make certain all the water is gone. Plus it gives you an opportunity to fully clean your carpet. Mine looks MUCH better now.