Mercedes-Benz Forum banner

DIY Console Shifter Bushing Replacement

42K views 28 replies 20 participants last post by  Geoffreyrw  
#1 · (Edited)
This is a guide for how to replace the 2 bushings inside the console. I didn’t replace the other 2 bushings on the rod going to the tranny because they were still good.

You’ll need:
Plilips head screw driver
Flat head screw driver
Snap ring pliers
¼ 10mm socket
¼ ratchet and extension
15mm wrench
Wheel bearing grease
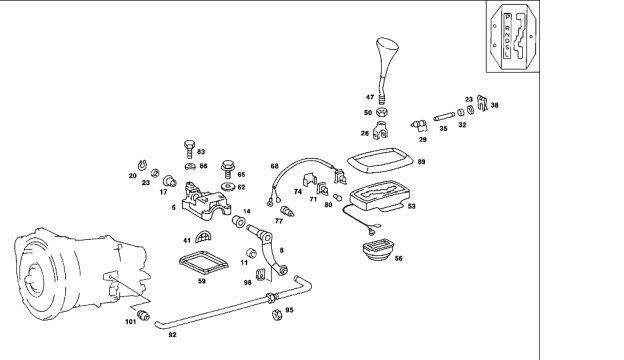
2 bushings 115 267 12 50

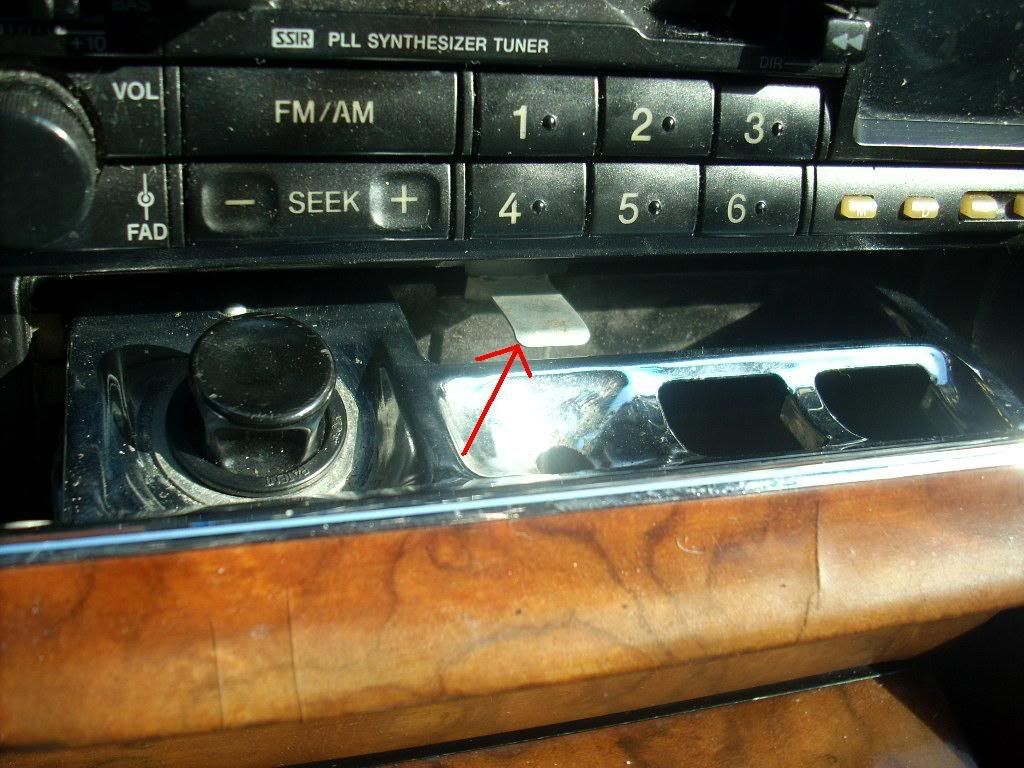
1. Push the metal tab down a remove the ashtray:

Image


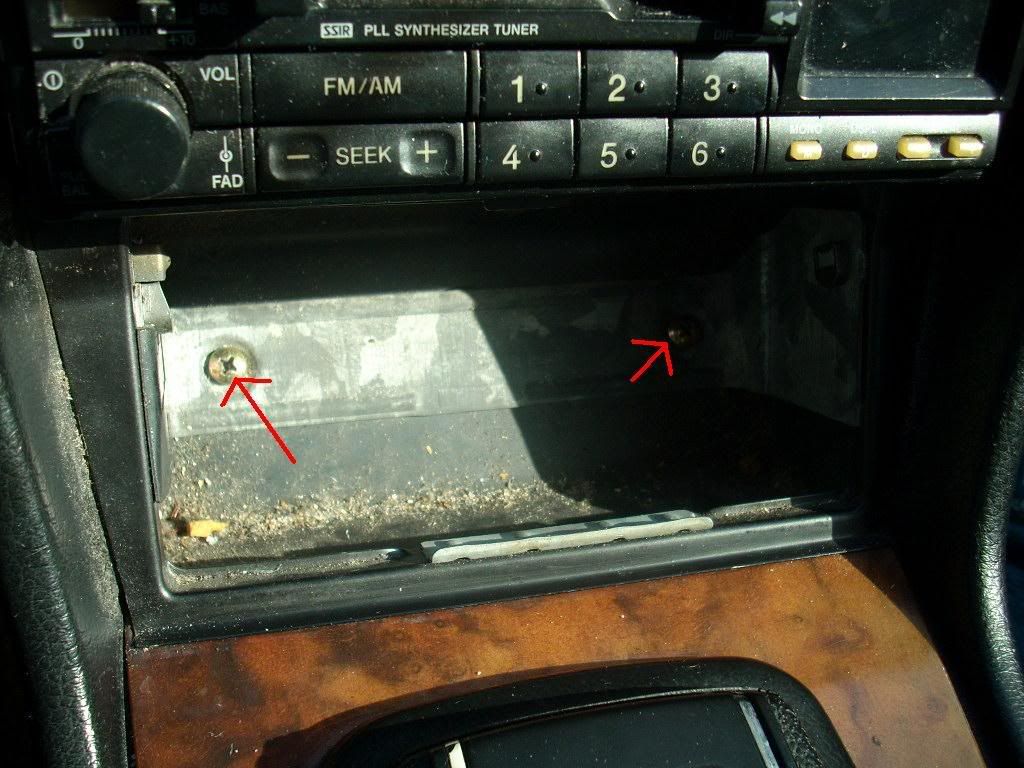
2. Remove both Philips head screws:

Image


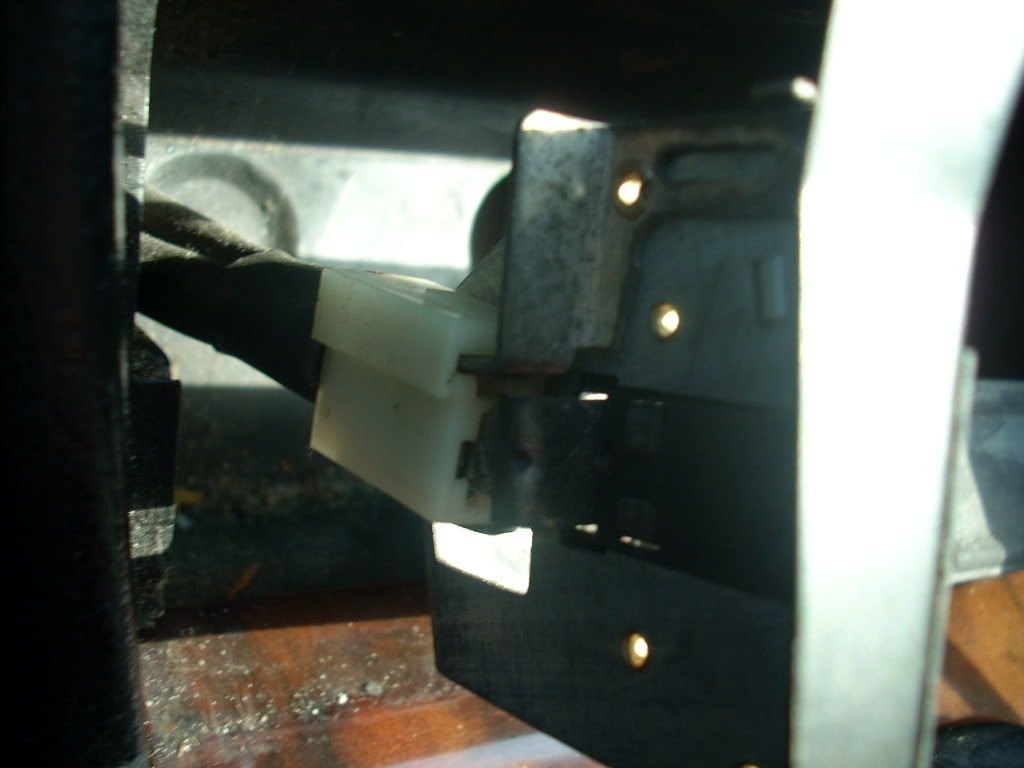
3. Pull the bracket out and unplug the connector:

Image


4. Pull the front part of the wood up and slide back then unplug all switches:

Image


5. Pry out the shifter light:

Image


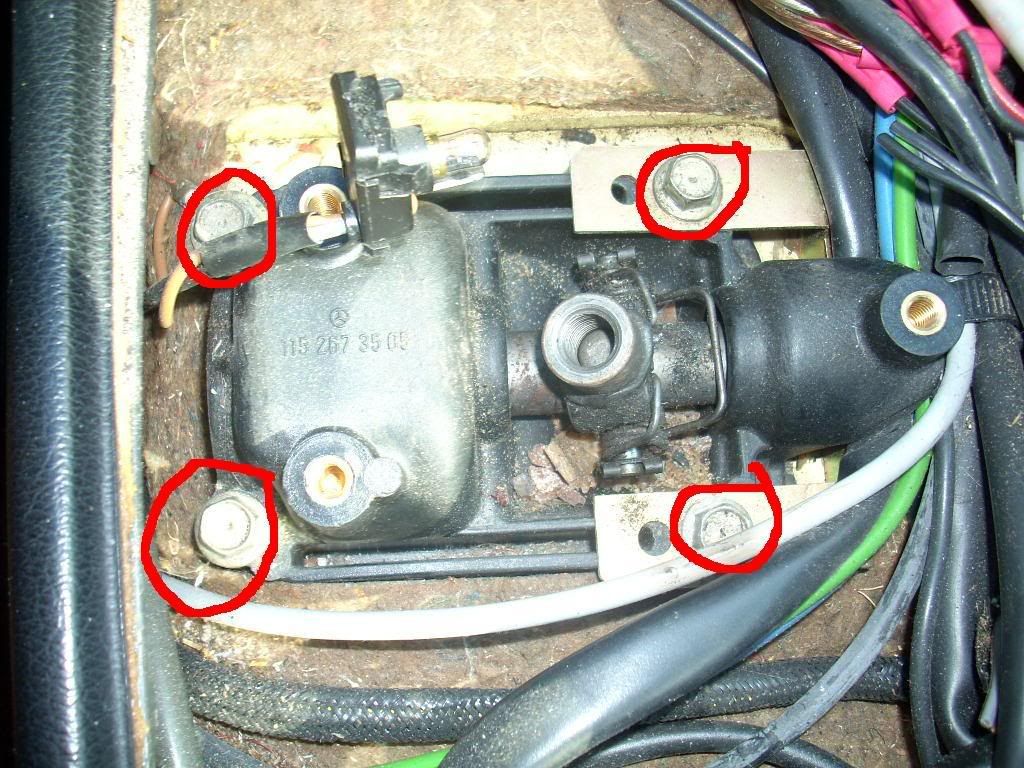
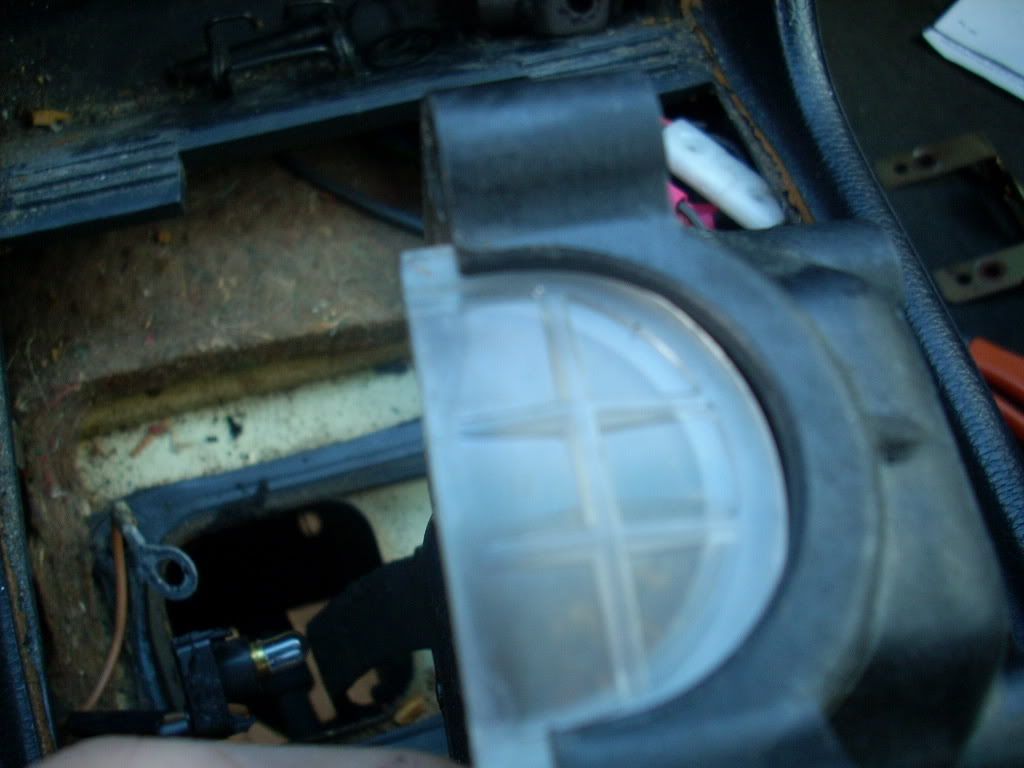
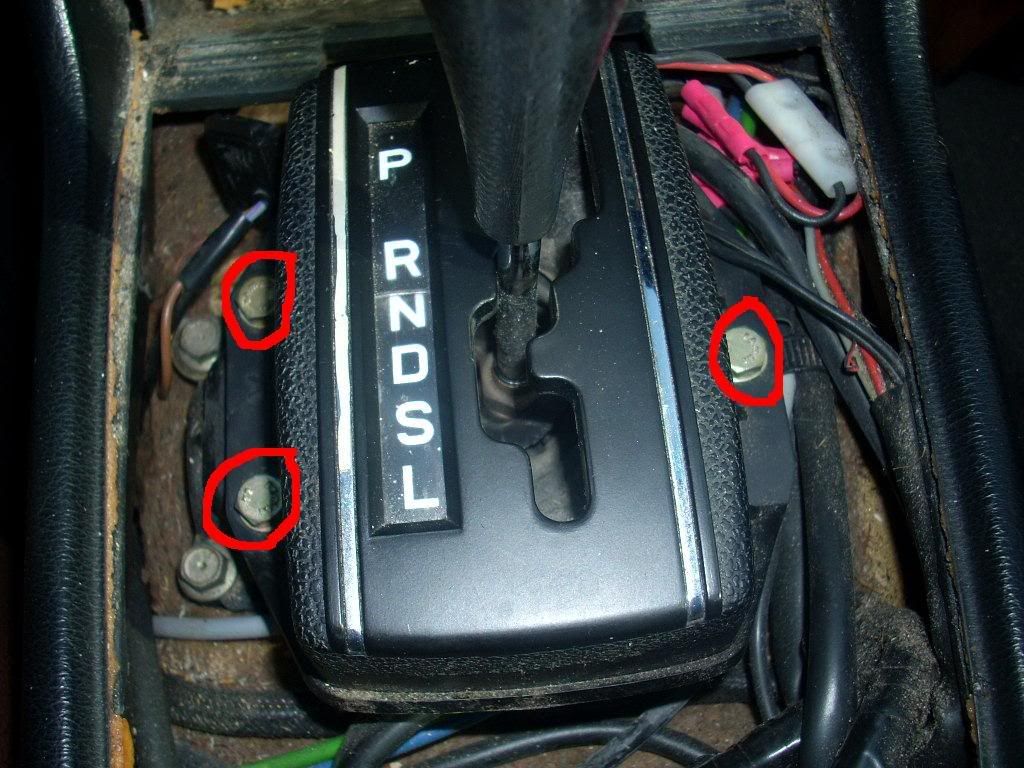
6. Remove all 3 10mm bolts that hold the shifter gate in place:

Image


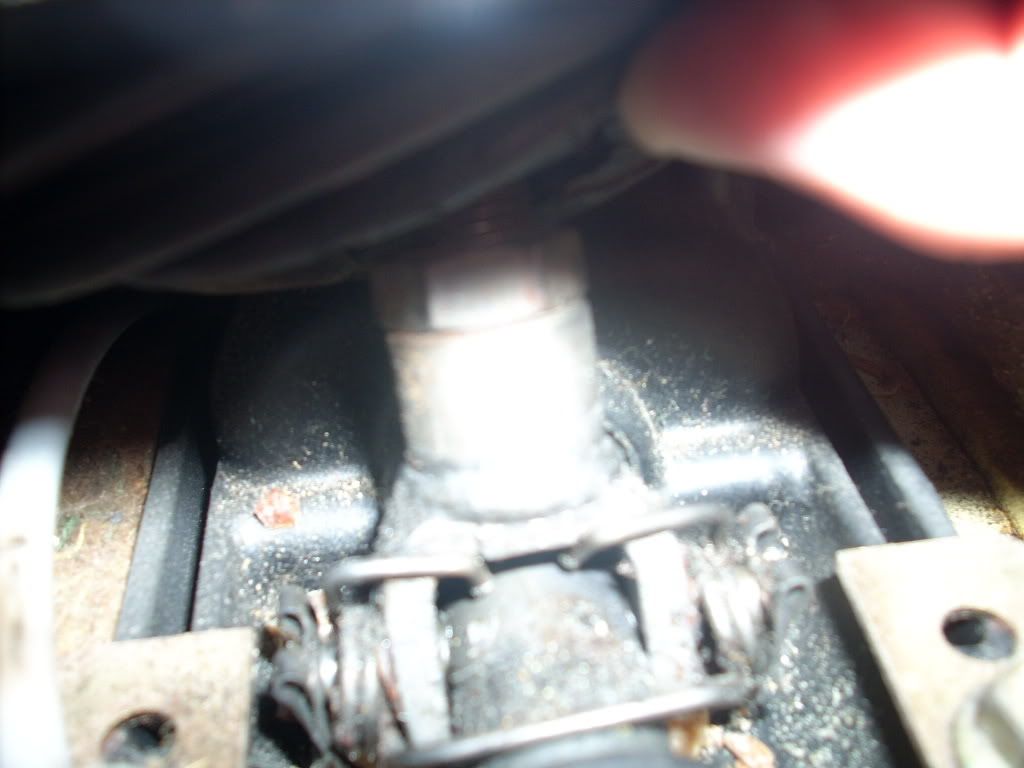
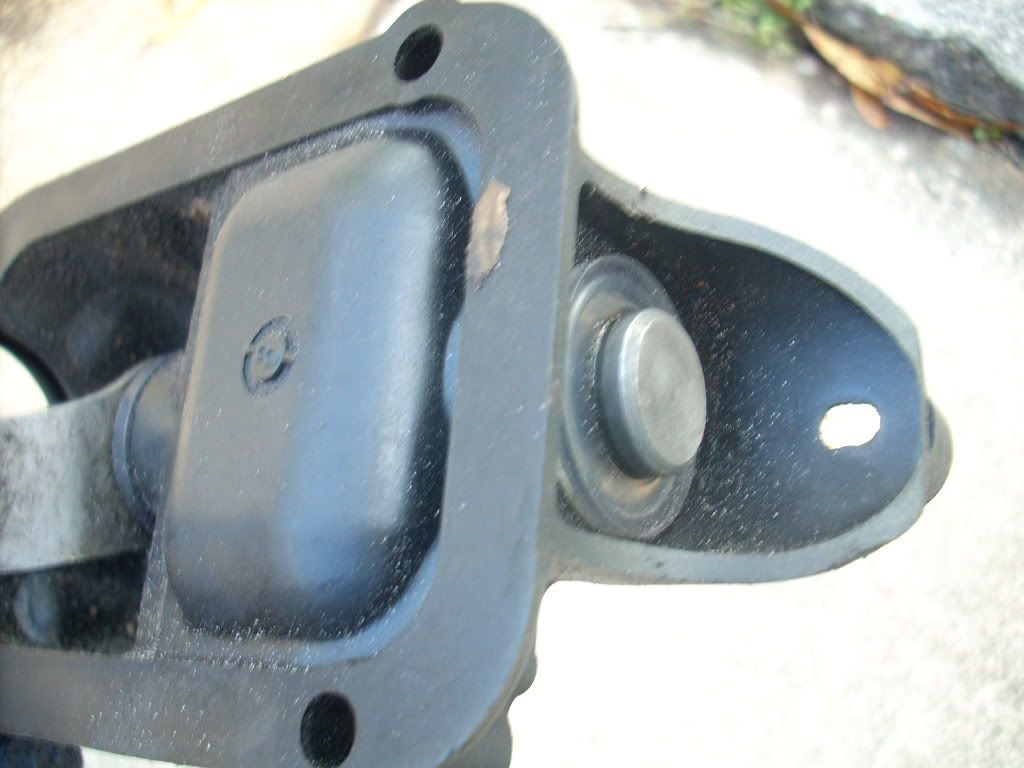
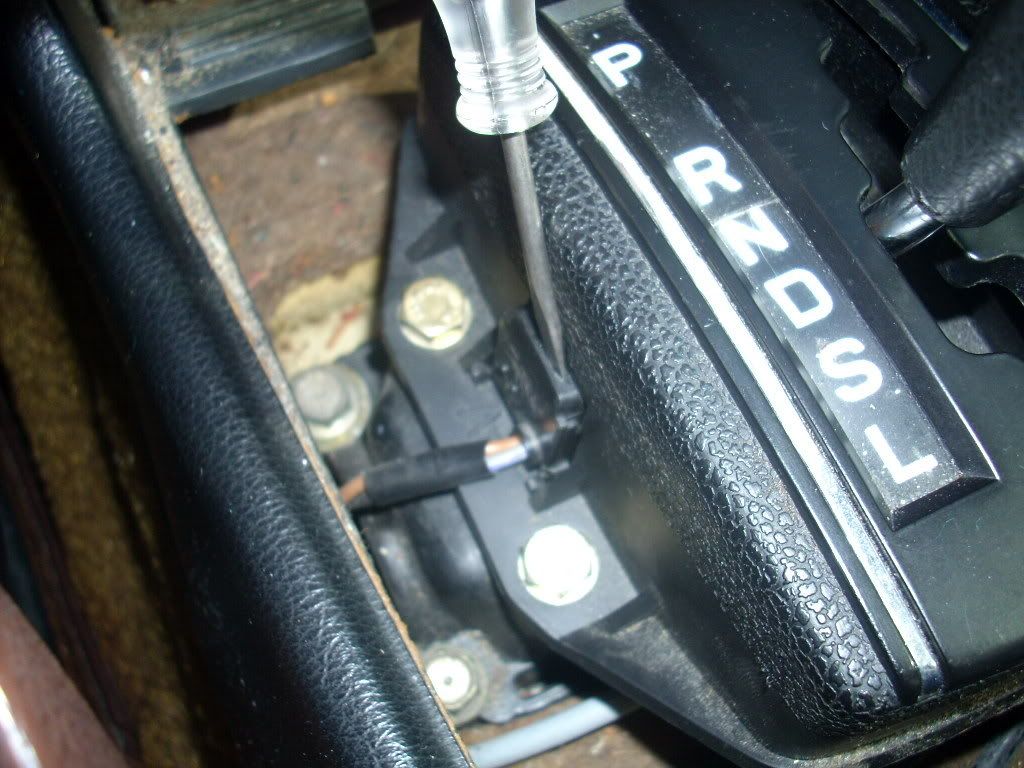
7. Twist the shifter gate to the side and use a 15mm wrench and loosen the lock nut and then finish turning the shifter knob counter clock-wise until it is off:

Image
 
#2 · (Edited)
8. Remove 4 10mm bolts and the gold bracket. The gold bracket it connected to the zip tie so just cut the zip tie and remove the bracket:

Image


9. I don’t have a picture of this step but pull the housing up and you’ll see the rod that comes from the tranny and where it attaches to the rod that goes into the console. Tie a piece of wire to the rod and then tie the other end to the steering wheel so when you disconnect it the rod doesn’t fall on the ground. Remove the little clip and slide the console rod off the rod coming from the tranny.

10. Remove the spring clip(red arrow) and then slide the pin out and remove the U-joint(yellow arrow) and the spring:

Image


11. Use your snap ring pliers and remove the snap ring:

Image


12. Slide the plastic cover off:

Image


13. Slide the rod out and put the new bushings in the shifter case and put a lot of wheel bearing grease on the rod and on the bushings(inside and out). If you don’t then your shifter will squeak every time you move it. Then put your snap ring back on.
Image

Image

Image


Re-install everything and enjoy your tight shifter.

Here is a diagram of the rods. The console rod is #5, the rod going to the tranny is #92. The 2 bushings are #17 and #14.
Image
 
#14 ·
shade tree DIY shifter bushings

I opened up my shifter covers and miced the shaft, found it was 5,000th's smaller then inside of 1/2" PVC water pipe, So I cut 2 1" pieces and debured them , Then cut about 1/4"+ out of PVC longways so it could be expanded as I pushed it over the shifter steel rod shafts, Oiled them up good and with a screwdriver slid them into the bushing hoising, Perfect fit .. After 5 years of steady use, The shifter is still snug and smooth as the day I did it..Time, About 2.5 hours including design thoughts & cleaning and prep for new home made bushings, I know it's not Anal. But is simple and efficiant..
 
#3 · (Edited)
really stop being so amazing, i need to do this cause if i dont shift into d far enough it refuses to shift into 4th
might want to add a part # and pic of the bushing/s
 
#6 ·
BRAVO, 79!!! I still haven't gotten around to doing my shifter bushings, but I'll surely revisit this excellent tutorial when I do mine.....
 
#7 ·
Nice writeup. I redid these bushings when I first got my 300D...really wish I had a guide at the time - I kind of learned as I went.

Did you replace the bushings for the shifter rod as well (I think those are 101 and 11)? Seems I have to replace those bushings every few years or so.
 
#8 ·
Perfect! Thanks for the great writeup. There is a vibrating noise coming from the shifter in my 300D when you accelerate and I hope that's all it is. These are the two parts AutohausAZ came up with:

Your Parts Search Returned 2 Part(s)

Is that it? Which one do we need? Where did you get yours from? Thanks.
 
#12 ·
thoses aren't OEM part numbers..

The bushings I replaced are 115 267 12 50 (you will need 2 bushings)
the bushings I didn't replace are 1159920310 (you will need 2 bushings)
 
#13 ·
The shifter in the wife's 83 300DT was all over the place. It was difficult to find reverse and difficult to get into park. So I ordered up the shifter bushings described here by 79Mercy. Just before they came in I was crawling around under the car for a different reason and discovered that both bushings that attach the shifter to the transmission were missing. That would answer why the shifter got sloppy all of a sudden. The little plastic bushings simply cracked and fell out due to age.

These bushings need to be pressed in. A challenge under the car. I removed the linkage rod from the transmission and pressed the bushing in using the bench vise. Once I figured it out, that part took all of 5 seconds. Now we can easily find each gear.
 
#18 ·
The fluid level was right up. The fuild looks and smells normal. I dropped the pan today. The pan is clean no metal filings or other parts inside. I going to do replace the transmission filter while I have the pan off. I'm also going to have a look at the b2 piston and bore seal. Any other ideas? Thx Mike
 
#22 ·
I just finished my shifter bushing replacement,1979 280sl 115-267-12-50 is the correct number uses two of them. Trick to get snap ring on is to use a c clamp with a socket over open end to compress the new full size rings(otherwise no room to get clip on) get it fairly tight i put shift body in wood vise to hold. Left it with clamp on for a few minutes then be quick putting snap ring on then done.. If like mine no room to get screws in ( on drivers side)I used pry bar to push console to align 2 of the four last screws hardest part of job .. suggest wire to hold lower shift linkage to trans.. Fantastic, really tight positive shifter
 
#28 ·
Thank you 79Mercy for the excellent guide. It is great to have a confident shifter again.

I have a few additional notes:

(1) I replaced 2x 1152671250 (diagram parts 14 and 17) and 1x 1159920310 (diagram part 11). I didn't see a second 1159920310 to replace, but I didn't go under the car.

(2) This procedure resolved the issue of not starting in park (only in neutral), without having to replace the neutral-lock.

(3) I have took a photo of Step 9, which was missing from the original post, see below.

Image