

Ok. so I know that some people (including myself) don't want to fork over the $40 for the AMG spacer kit. So I found an alternative solution, which works just as well. Please note- For this, I only spaced the front of the fender, as I had zero rubbing issues with the rear of the front fender.
For the actual spacers I just used some universal polyurethane sway bar end link bushings from Pep Boys (cost $10 for a pack of 8, I only used 4 of them) that kit also comes with the thick metal washers that you will need. you will need to get some longer bolts to make up for the width of the spacers.
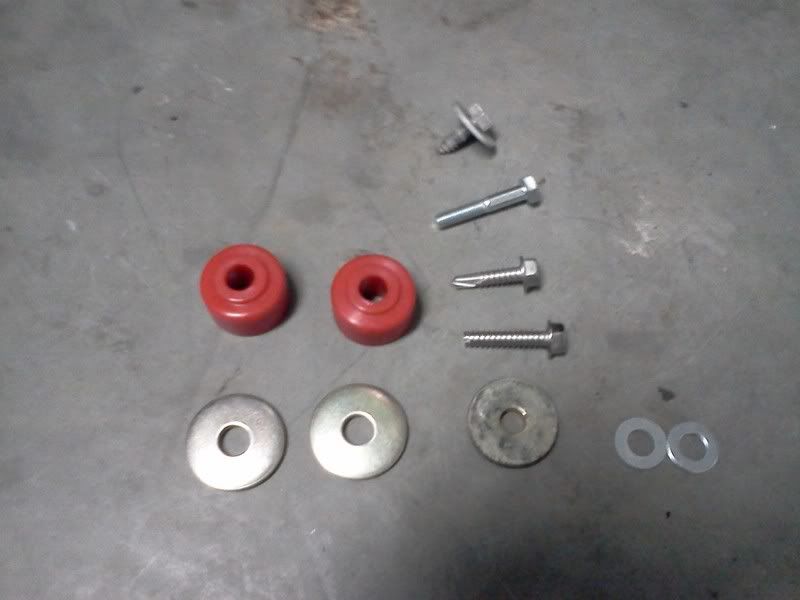
This is everything you need to space just the front of one fender-
![Image]()
The red poly bushings from Pep Boys are the same thickness as the ones that come in the AMG spacer kit. I recommend buying from Pep Boys, just because the same exact kit everywhere else was $15.
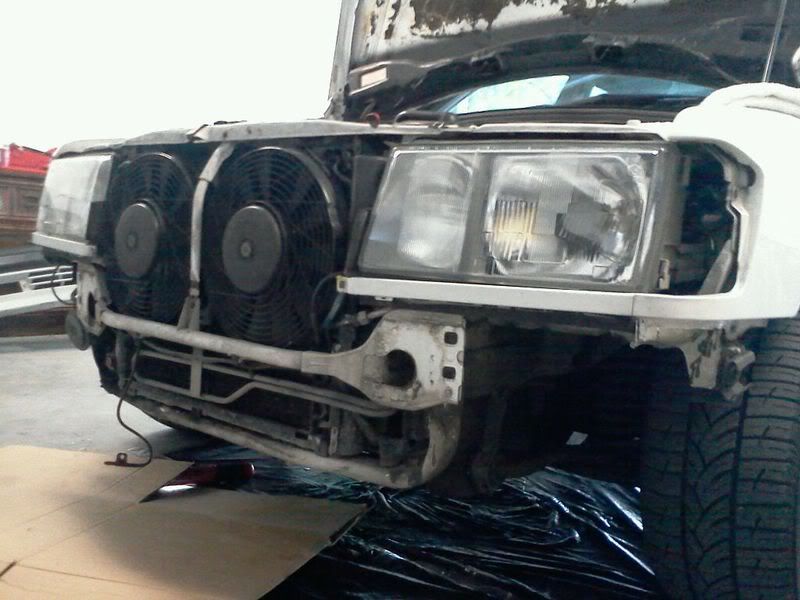
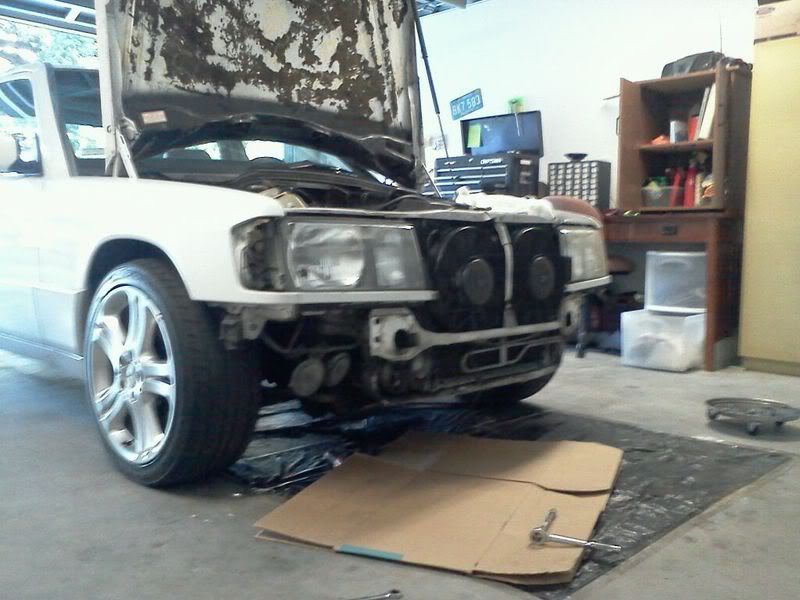
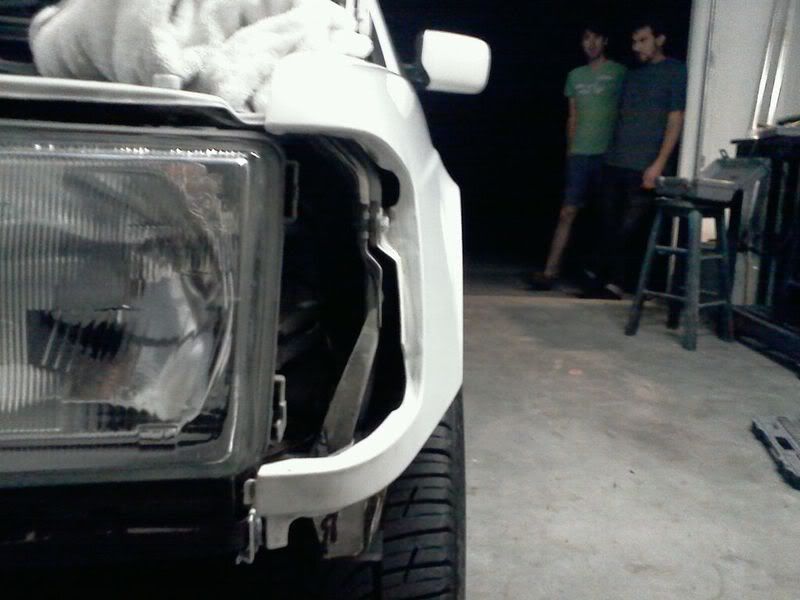
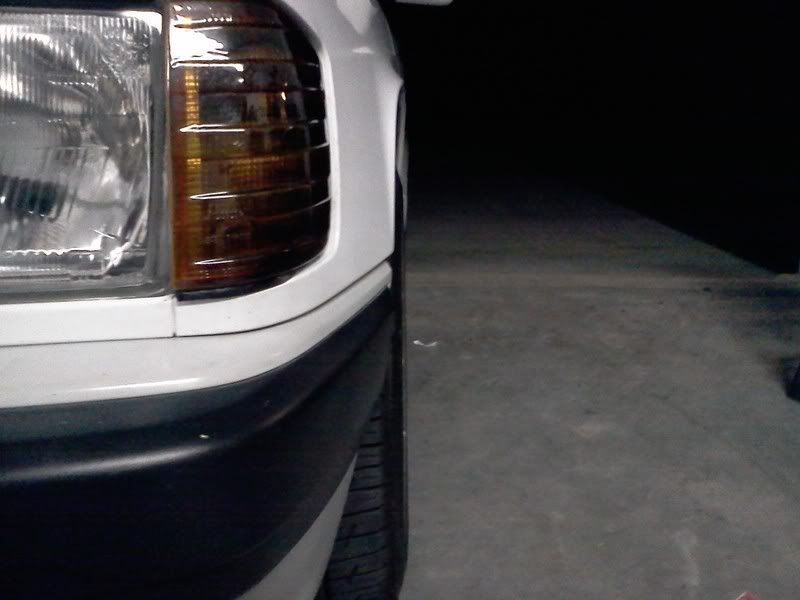
Anyone ever notice, that without a bumper, the 190 kinda looks like a semi truck? lol
![Image]()
![Image]()
The red bushings go where the fender bolts onto the car, under the bumper. Then you will need a stack of washers, about .5 cm thick to go where the fender bolts on behind the blinker. No washer was needed where the very front of the fender (right next to the headlight trim) bolts on.
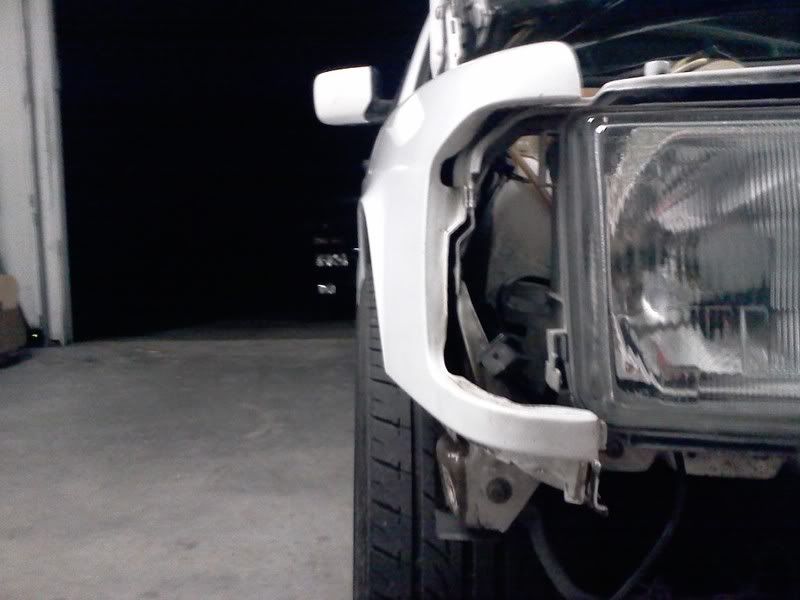
As you tighten everything down, you will see the corner of the wheel well come out. Be careful to tighten everything down slowly and evenly, so as not to actually bend anything.
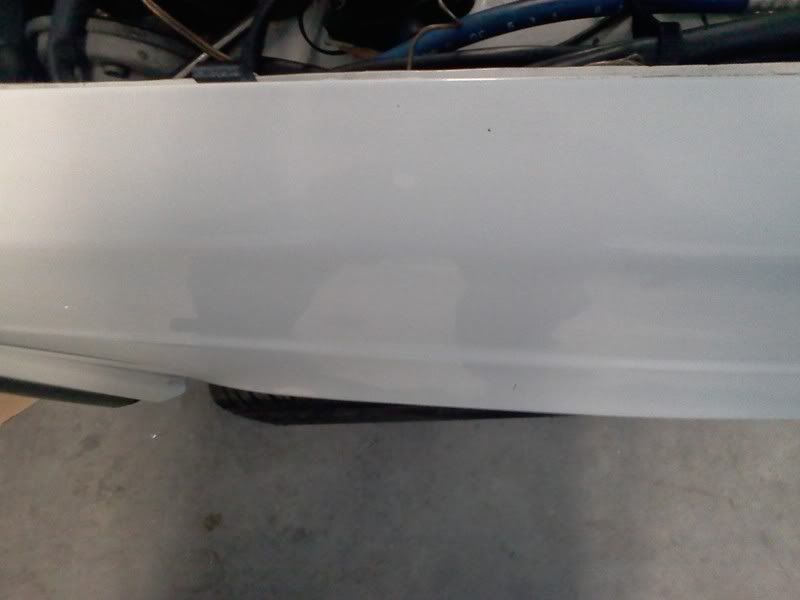
Initial Spacing-
Before-
![Image]()
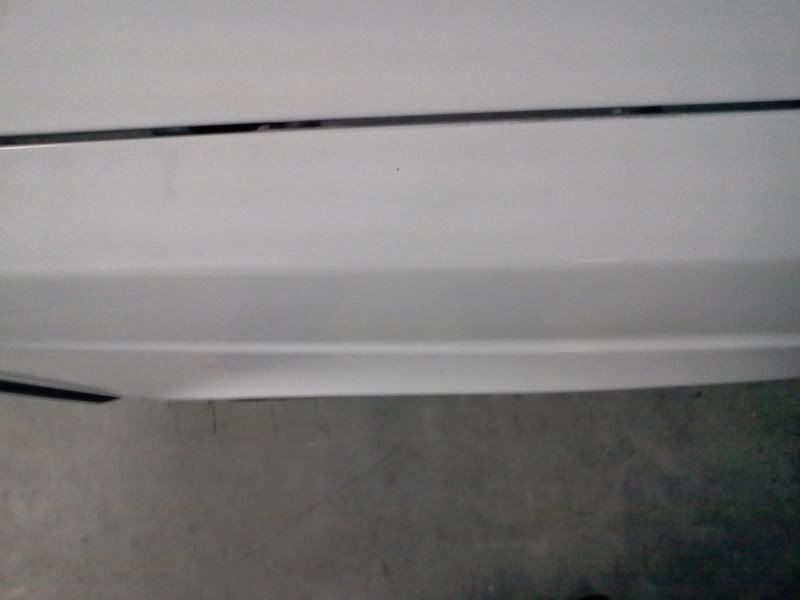
After-
![Image]()
You will also need to run a red bushing and some washers where the sides of the bumper mount, in order to space them out to match the fenders.
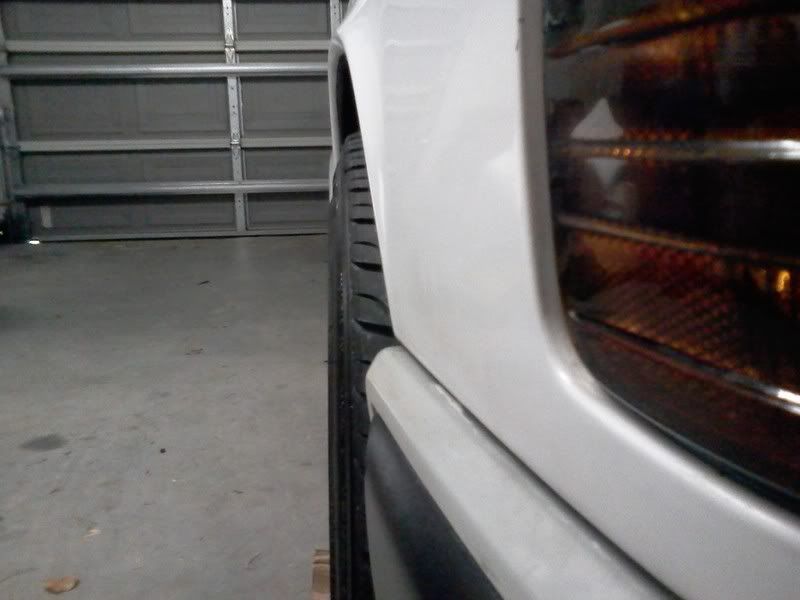
Finished product-
Before-
![Image]()
After-
![Image]()
Before-
![Image]()
After-
![Image]()
Worked great! My wheels are 17x8 et36 with 215/45/17's I used to get a lot of rubbing on fast curves/hard bumps, now not at all.
All in all, it cost me $17 for everything (plus a couple of pizzas for my buddies, lol) and I have enough left over to do another car.
For the actual spacers I just used some universal polyurethane sway bar end link bushings from Pep Boys (cost $10 for a pack of 8, I only used 4 of them) that kit also comes with the thick metal washers that you will need. you will need to get some longer bolts to make up for the width of the spacers.
This is everything you need to space just the front of one fender-
The red poly bushings from Pep Boys are the same thickness as the ones that come in the AMG spacer kit. I recommend buying from Pep Boys, just because the same exact kit everywhere else was $15.
Anyone ever notice, that without a bumper, the 190 kinda looks like a semi truck? lol
The red bushings go where the fender bolts onto the car, under the bumper. Then you will need a stack of washers, about .5 cm thick to go where the fender bolts on behind the blinker. No washer was needed where the very front of the fender (right next to the headlight trim) bolts on.
As you tighten everything down, you will see the corner of the wheel well come out. Be careful to tighten everything down slowly and evenly, so as not to actually bend anything.
Initial Spacing-
Before-
After-
You will also need to run a red bushing and some washers where the sides of the bumper mount, in order to space them out to match the fenders.
Finished product-
Before-
After-
Before-
After-
Worked great! My wheels are 17x8 et36 with 215/45/17's I used to get a lot of rubbing on fast curves/hard bumps, now not at all.
All in all, it cost me $17 for everything (plus a couple of pizzas for my buddies, lol) and I have enough left over to do another car.


