What you'll need.
- T20 Torx Bit
- Spanner set
- Flat head screw driver
- Philips screw driver
- 30 Mins spare time ( More/less if you wish to clean under the rear garnish)
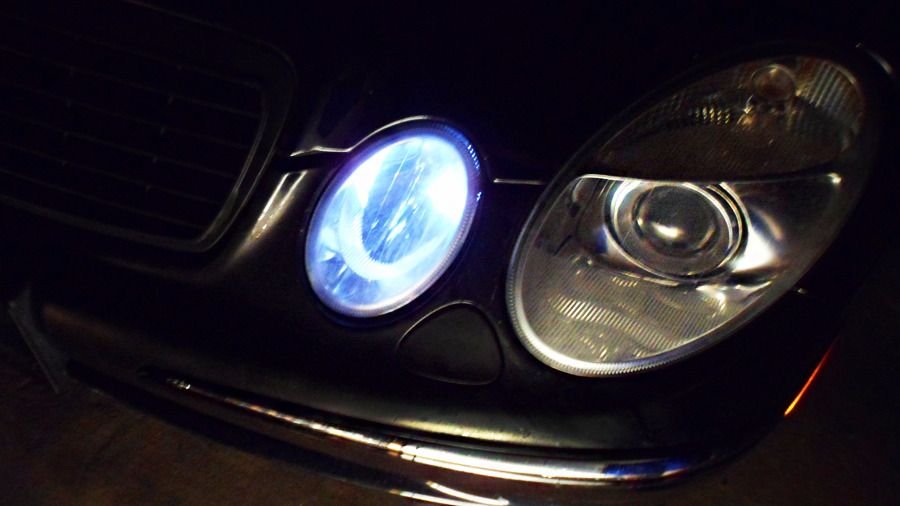
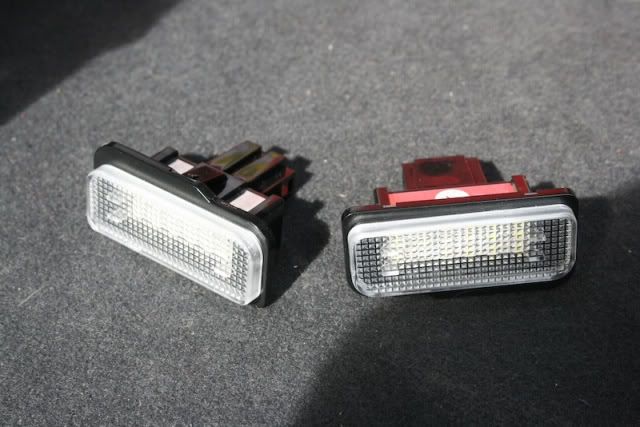
I purchased some LED Numberplate ligths from eBay which cost around $30. Quality isn't bad and they don't set off any fault codes on the dash. See the photos below.
![Image]()
This process should work on all W211 E-Class Cars however i haven't performed it on any cars newer than 07'.
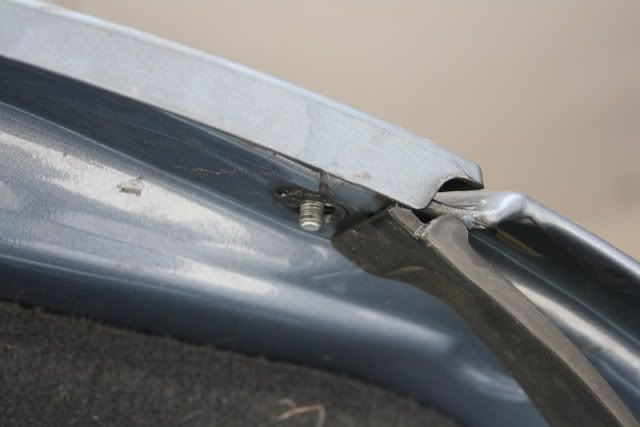
Step 1: Open boot and remove the two nuts that secure the garnish to the car. Remember not to apply too much force as you may strip the bolts.
(Photo after the nuts have been removed) There is one on each side.
![Image]()
Step 2: Remove the cover thats on the end of the boot. You will need a T20 bit to remove the 6 screws. The cover then just pulls off.
![Image]()
Step 3: Remove the warning triangle ( if your car has it ) and there will be a T20 screw behind it that simply unscrews.
![Image]()
Step 4: Locate the press studs that are on the inside of the boot, these hold on the cover, you need to simply pull out the studs and then remove them. Don't apply that much force as you need to save the clips.
![Image]()
Step 5: After all the studs are removed, you should be able to simply pull down the front of the boot liner. Now remove the light thats located at the top of the boot. Use the flat head screw driver to gently pry it out. Or you could put your fingers behind it and push it out. Whatevers easier.
![Image]()
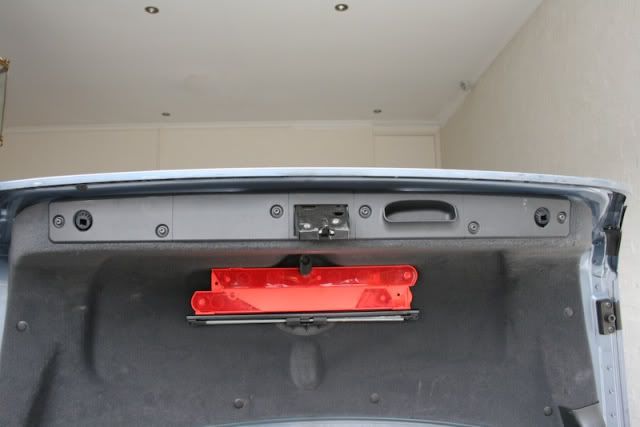
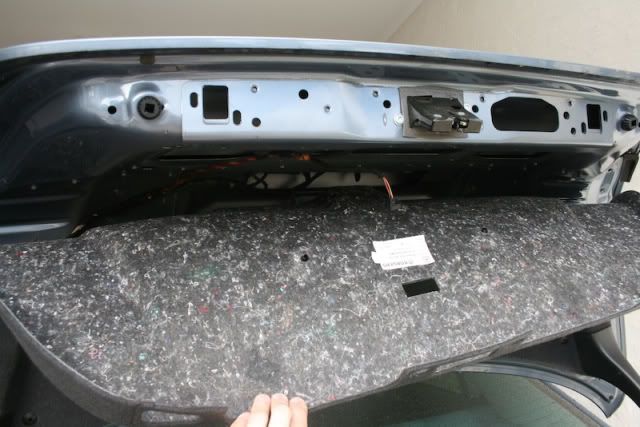
Step 6: Unplug the light and pull down the liner, This will expose one central nut which needs to be undone. This will then allow the rear garnish to be removed. You also need to remove your numberplate and all the bolts holding it in.
![Image]()
![Image]()
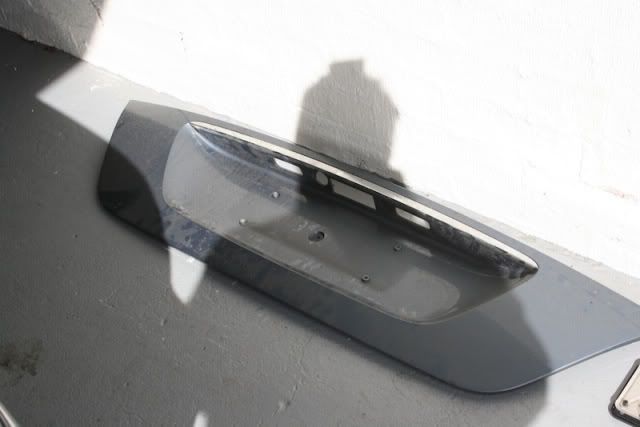
Step 7: Pull the boot down but don't close it. You need to pull the top corners of the garnish on each side and then gently pry your way along the top and then then garnish should simply pull downwards. Be careful not to bend the bottom of it, as it wraps around the boot, so check that out before you start pulling. Check out the photo below before you start.
![Image]()
Step 8: There should be two screws in each numberplate light that can be removed. This should expose the inside of the bracket. This bracket is to be gently popped out. This will expose a plug.
http://i29.photobucket.com/albums/c266/ians733/DIY W211 LED Numberplate Lights/IMG_1183.jpg
![Image]()
![Image]()
Step 9: Simply unplug the plug and plug in the new LED lights. Be careful as the plug will only go in one way, and the led lights will only fit in one way. Now thats they are plugged in give them a test. If all working start putting the boot back together in reverse order.
![Image]()
![Image]()
![Image]()
![Image]()
![Image]()
Onces its done... enjoy. Keep the old sockets / globes just incase one fails or you want to revert back to the old globes.
Feel free to comment.
Sticky Please
- T20 Torx Bit
- Spanner set
- Flat head screw driver
- Philips screw driver
- 30 Mins spare time ( More/less if you wish to clean under the rear garnish)
I purchased some LED Numberplate ligths from eBay which cost around $30. Quality isn't bad and they don't set off any fault codes on the dash. See the photos below.
This process should work on all W211 E-Class Cars however i haven't performed it on any cars newer than 07'.
Step 1: Open boot and remove the two nuts that secure the garnish to the car. Remember not to apply too much force as you may strip the bolts.
(Photo after the nuts have been removed) There is one on each side.
Step 2: Remove the cover thats on the end of the boot. You will need a T20 bit to remove the 6 screws. The cover then just pulls off.
Step 3: Remove the warning triangle ( if your car has it ) and there will be a T20 screw behind it that simply unscrews.

Step 4: Locate the press studs that are on the inside of the boot, these hold on the cover, you need to simply pull out the studs and then remove them. Don't apply that much force as you need to save the clips.

Step 5: After all the studs are removed, you should be able to simply pull down the front of the boot liner. Now remove the light thats located at the top of the boot. Use the flat head screw driver to gently pry it out. Or you could put your fingers behind it and push it out. Whatevers easier.

Step 6: Unplug the light and pull down the liner, This will expose one central nut which needs to be undone. This will then allow the rear garnish to be removed. You also need to remove your numberplate and all the bolts holding it in.

Step 7: Pull the boot down but don't close it. You need to pull the top corners of the garnish on each side and then gently pry your way along the top and then then garnish should simply pull downwards. Be careful not to bend the bottom of it, as it wraps around the boot, so check that out before you start pulling. Check out the photo below before you start.
Step 8: There should be two screws in each numberplate light that can be removed. This should expose the inside of the bracket. This bracket is to be gently popped out. This will expose a plug.
http://i29.photobucket.com/albums/c266/ians733/DIY W211 LED Numberplate Lights/IMG_1183.jpg


Step 9: Simply unplug the plug and plug in the new LED lights. Be careful as the plug will only go in one way, and the led lights will only fit in one way. Now thats they are plugged in give them a test. If all working start putting the boot back together in reverse order.


Onces its done... enjoy. Keep the old sockets / globes just incase one fails or you want to revert back to the old globes.
Feel free to comment.
Sticky Please