OK Here is the subject a, 99 E430 sport, M113 V8
![Image]()
I have had a small leak on the left side for years, it would only leak one drop during storage of 3 months.
When I would start the car everything was OK but as it warmed up the oil would burn off on the heat shield. The last time I started it it got much worse, the time has come to change the gasket. In this pic you can see the oil fill tube has evidence of seepage, we will fix that too.
![Image]()
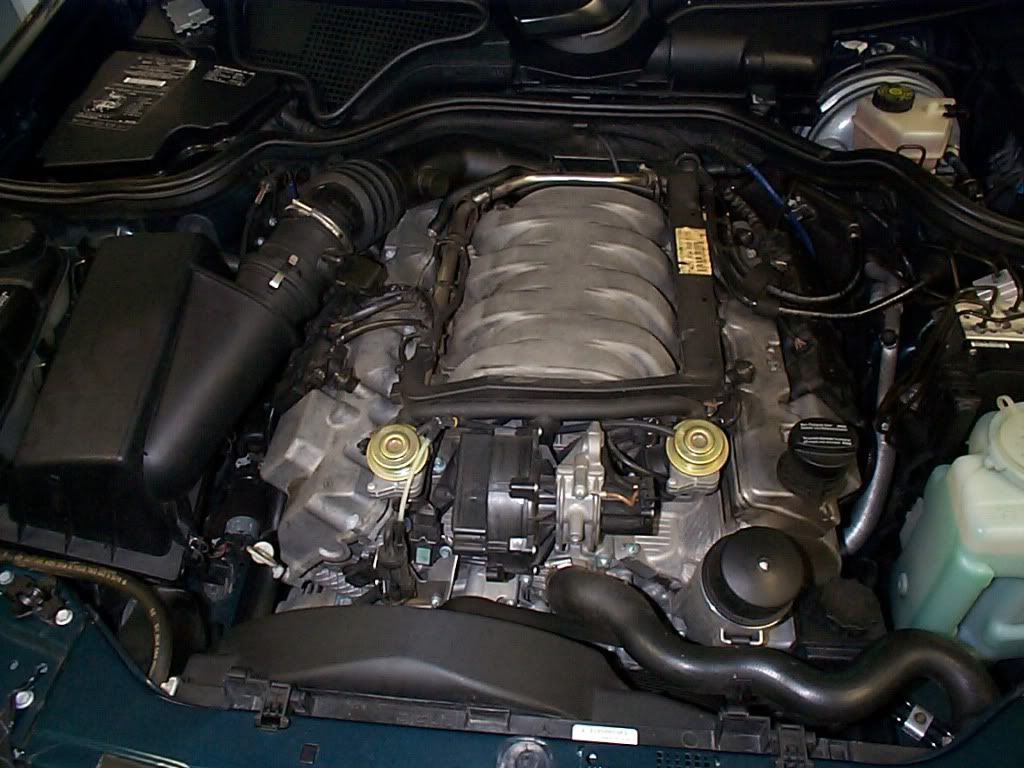
Lifting off the engine cover, right side first.
![Image]()
Then continue to lift the front of the engine cover on the left side. The clips at the rear will turn loose as you lift the cover.
![Image]()
The cover is off and you can see more evidence of seepage around the oil fill tube extension.
![Image]()
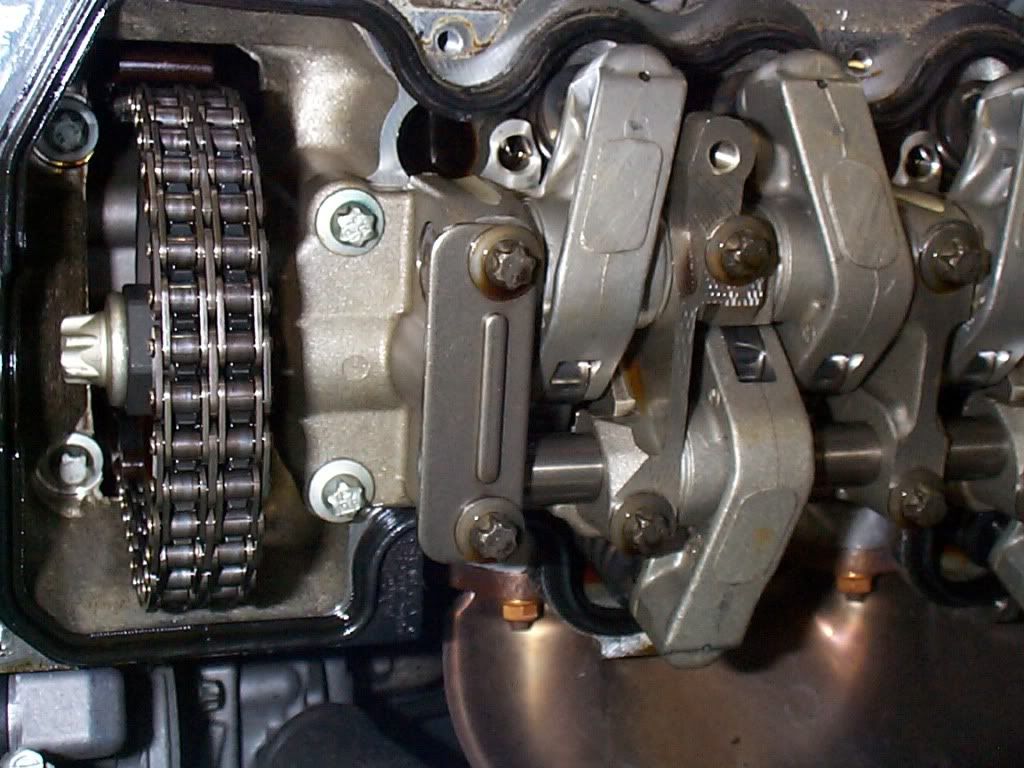
This is the left side valve cover that will be removed.
![Image]()
Good idea to protect your fender and paint, I use packing blankets for my comfort.
![Image]()
First step mark your coil wires and coils, cut the ty wrap to free the loom. Swing the coil wires back by the firewall, out of the way.
![Image]()
Remove the plastic clip between the fuel line and vacuum line. It will not be necessary to remove either the fuel line or vacuum line.
![Image]()
Use a T30 to remove the coils, one at a time.
![Image]()
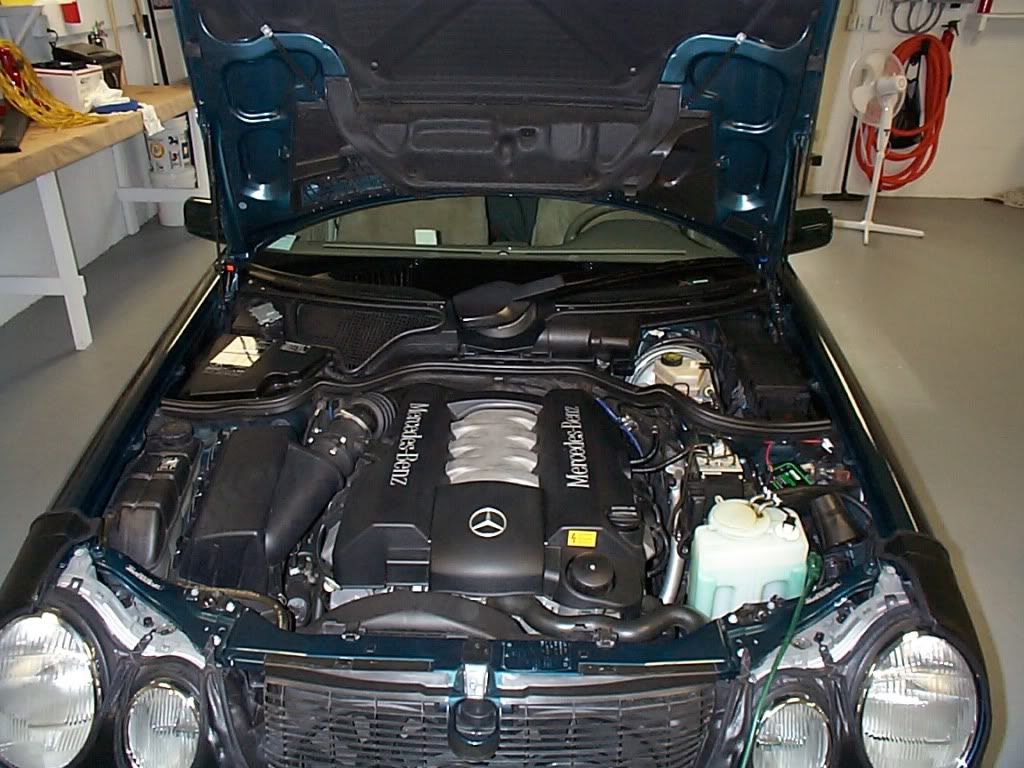
I have had a small leak on the left side for years, it would only leak one drop during storage of 3 months.
When I would start the car everything was OK but as it warmed up the oil would burn off on the heat shield. The last time I started it it got much worse, the time has come to change the gasket. In this pic you can see the oil fill tube has evidence of seepage, we will fix that too.

Lifting off the engine cover, right side first.

Then continue to lift the front of the engine cover on the left side. The clips at the rear will turn loose as you lift the cover.

The cover is off and you can see more evidence of seepage around the oil fill tube extension.
This is the left side valve cover that will be removed.

Good idea to protect your fender and paint, I use packing blankets for my comfort.

First step mark your coil wires and coils, cut the ty wrap to free the loom. Swing the coil wires back by the firewall, out of the way.

Remove the plastic clip between the fuel line and vacuum line. It will not be necessary to remove either the fuel line or vacuum line.

Use a T30 to remove the coils, one at a time.