

So Osai_Dude noticed that my door handles were painted, not only the bulging covers (Which Bruno Sacco to this day detests) were painted, but also the handles themselves I had re-painted and I also sanded down and filled in those ugly "ridges". I also wanted a "Semi-Matte" finish versus the ugly stock "Flat" black.
So the car was apart and the handles were off while I was doing my restoration so I decided to tackle it. I took the handles off the '86 Euro and experiments on those. So for this exercise I went down to the yards and picked up two handles to dissect.
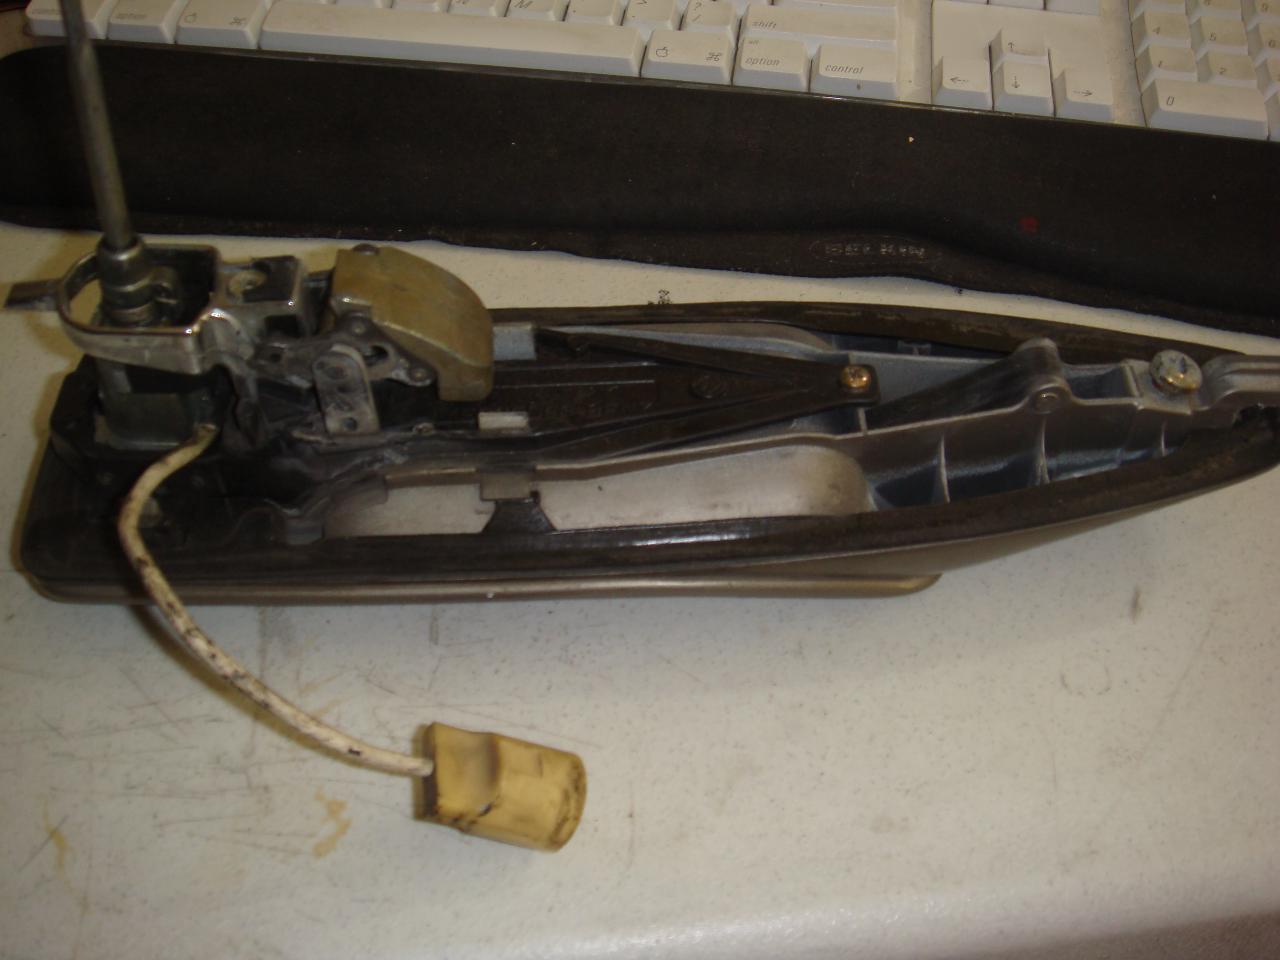
Most of you have seen these from the outside plenty, so here is the underside:
![Image]()
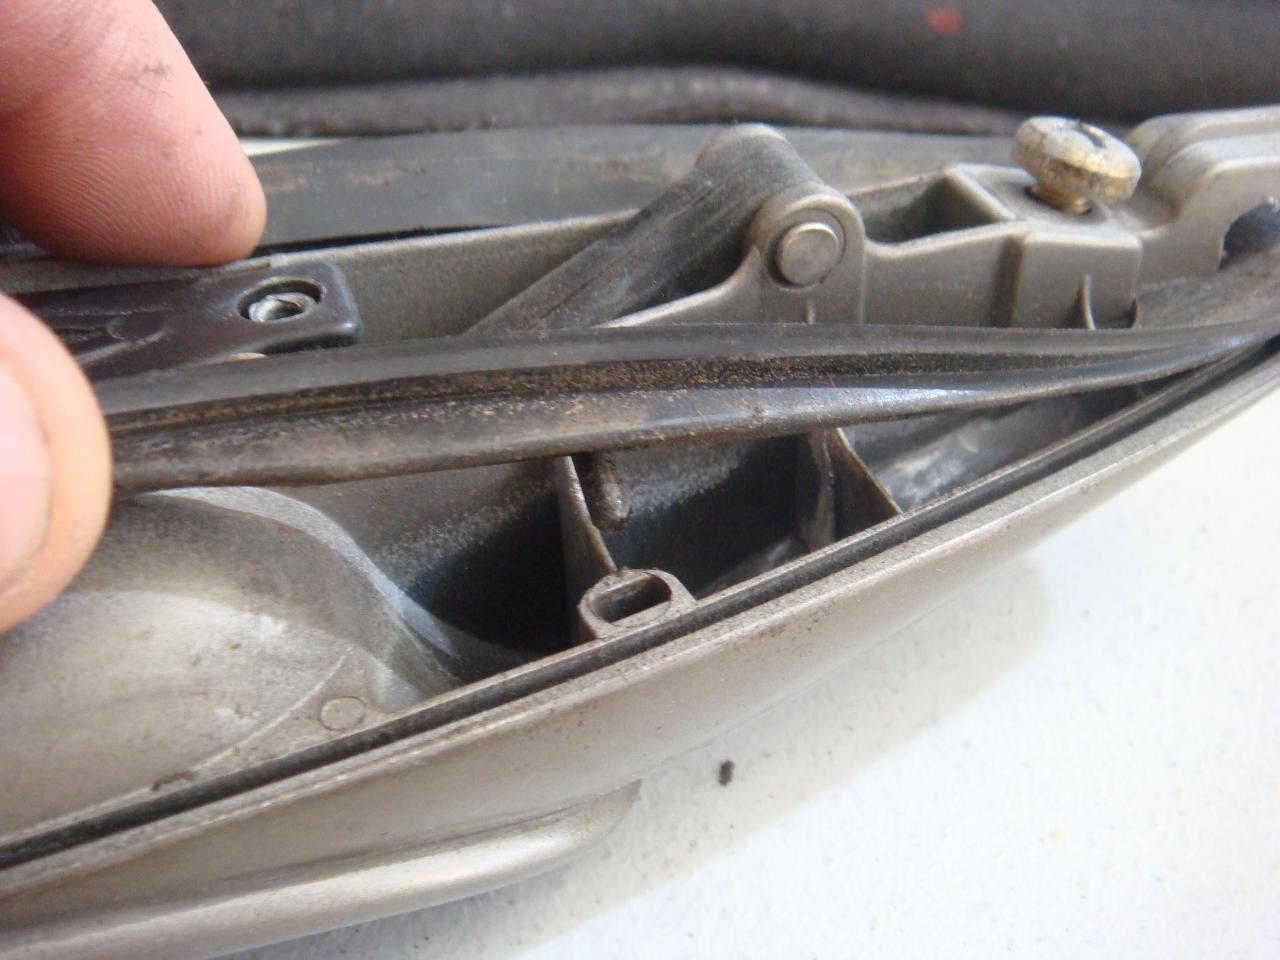
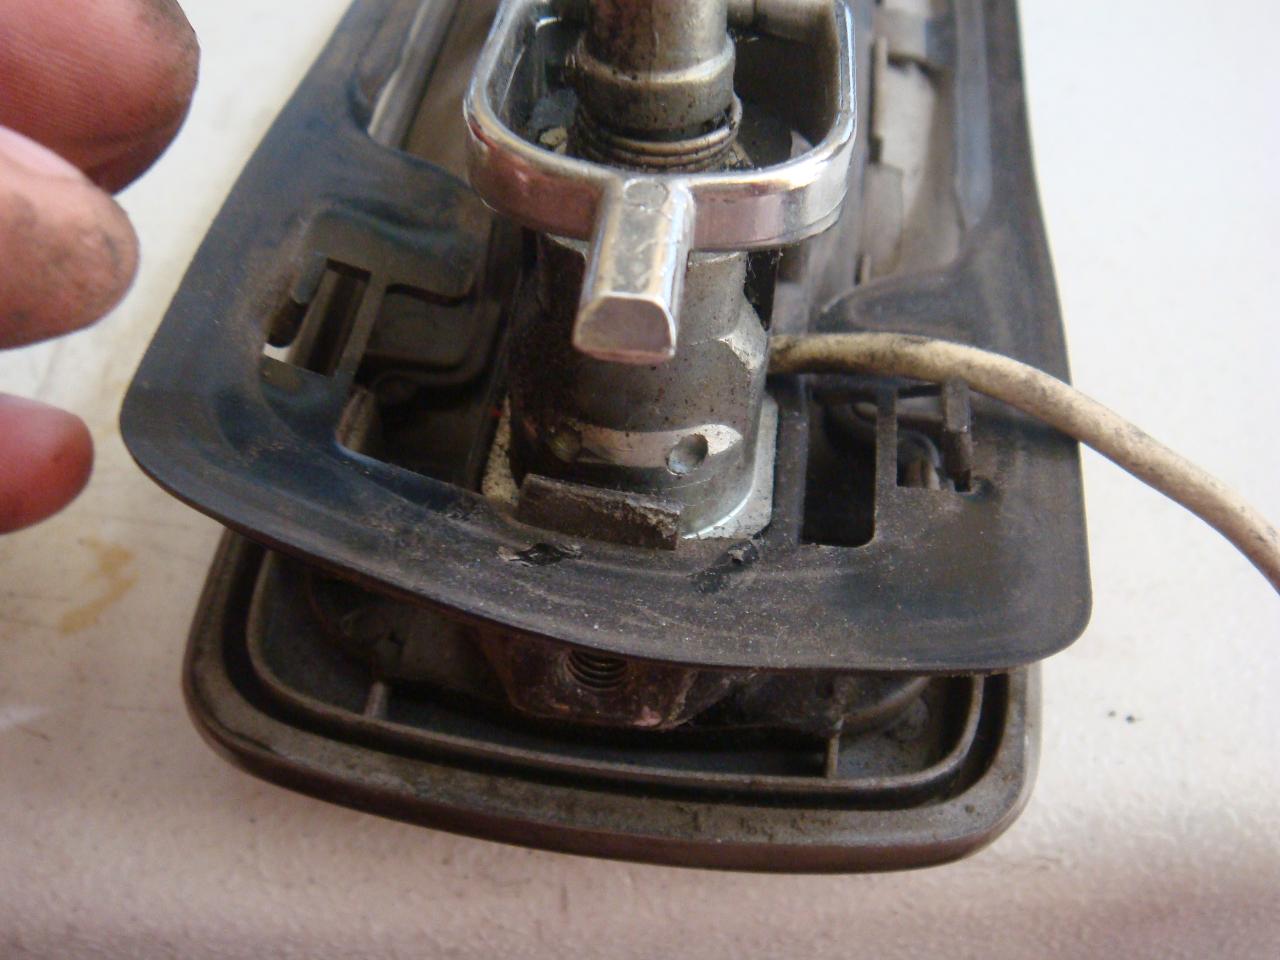
And here is a closeup of the business end:
![Image]()
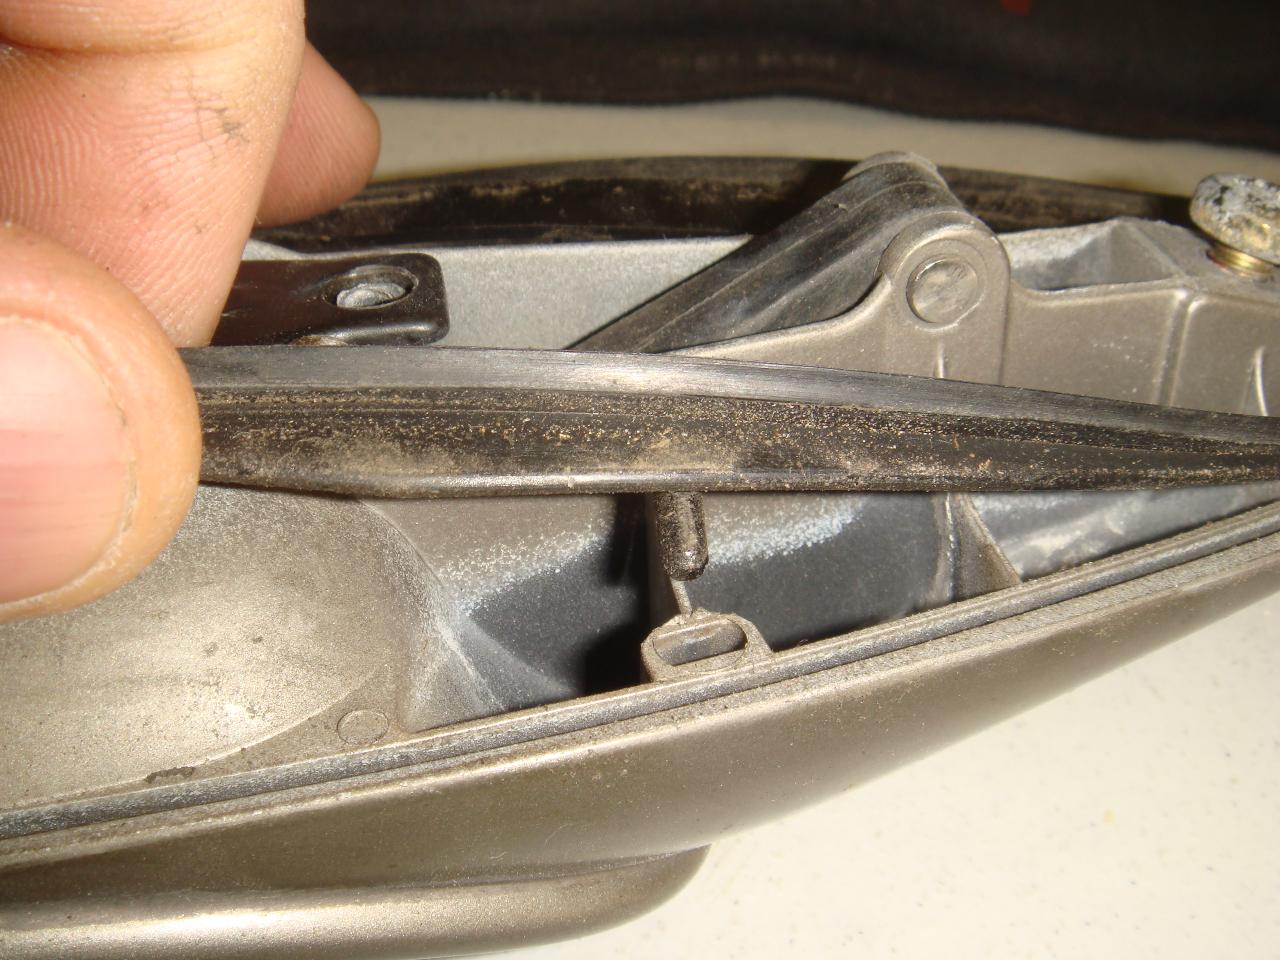
I will not get into why they designed it the way they did, they did and it is. Let's start with the simple stuff. The wire protruding out is for the door locks. When the key is inserted and turned in the lock or unlock position, a voltage either +12VDC or -12VDC is pulsed to the vacuum pump in the trunk and that pump kicks on in either vacuum or pressure to the vacuum lines going to the vacuum elements to the doors and gas door. Make sure that this wire is protected and in good condition.
You can see the door handle coming up through the middle and the Allen set screw holding it in. There is a counter weight on the right side and you see the round ring around the door lock and the little tab that protrudes? That is what trips the door latch to open the door.
How does the door lock? Glad you asked. The long shaft that sticks up on the left, it is what locks and unlocks the handle. It sticks into the "Element" and when rotated, it allows or prevents the handle from moving that tab, opening the latch. How is it rotated? Well the shaft fits into the Element and when the vacuum pump moves the element into the lock position, it rotates that shaft to the lock position and prevents it from tripping the latch when the handle is moved. It is a complex system, being an Electro/Mechanical/vaccum operated system.
So to recap: When you turn the key, an electrical signal fires the pump which moves all of the "elements" to either lock or unlock. The elements move the lock shafts which allow or deny you to engage the latches.
In the case of the gas door, the element moves a pin which latches the door locked or open. If you reach in the trunk on the pass side, you will feel the element and you can pull it open with your hand.
And so ends the theory, on to the dis-assembly:
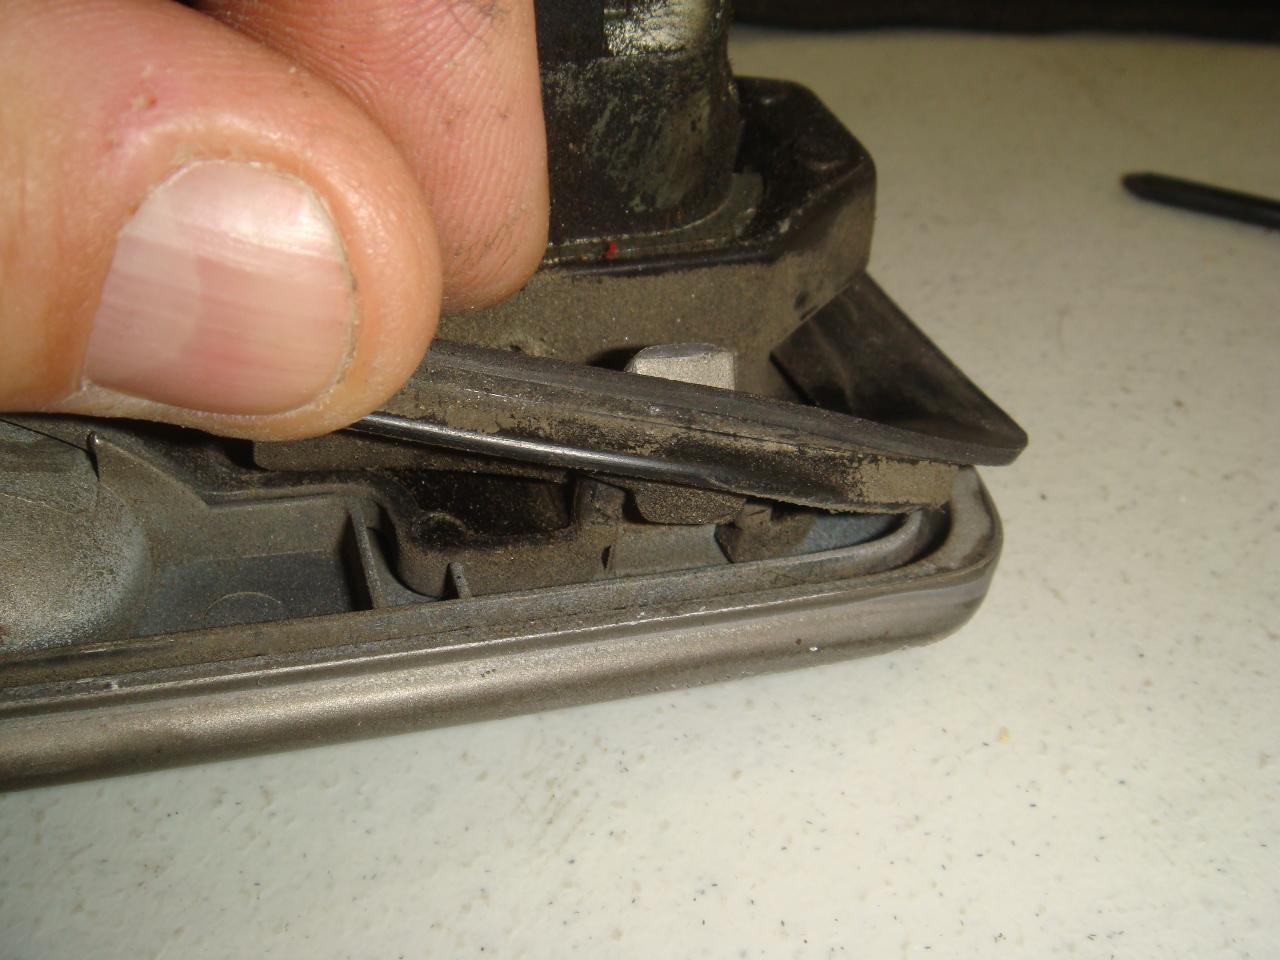
So in this pic:
![Image]()
You see a large Phillips screw. That is what locks it to the door panel. The set pin on the left is what needs to come out.
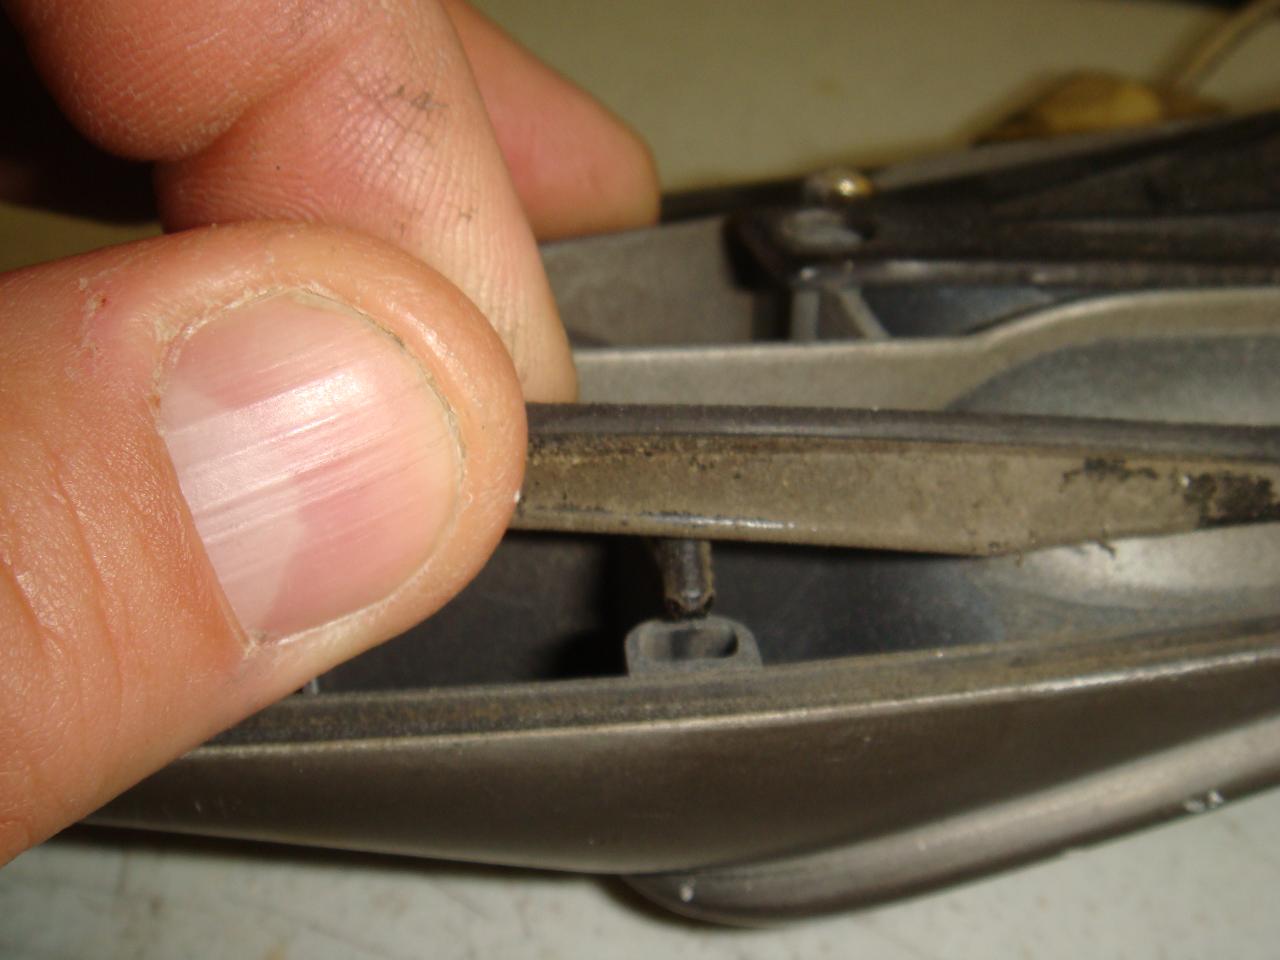
Next remove the rubber gasket that protects the handle on the door panel:
![Image]()
![Image]()
![Image]()
![Image]()
![Image]()
![Image]()
These gaskets should be replaced because they get hard and brittle. They are like $7.00 each I think.
So the car was apart and the handles were off while I was doing my restoration so I decided to tackle it. I took the handles off the '86 Euro and experiments on those. So for this exercise I went down to the yards and picked up two handles to dissect.
Most of you have seen these from the outside plenty, so here is the underside:
And here is a closeup of the business end:
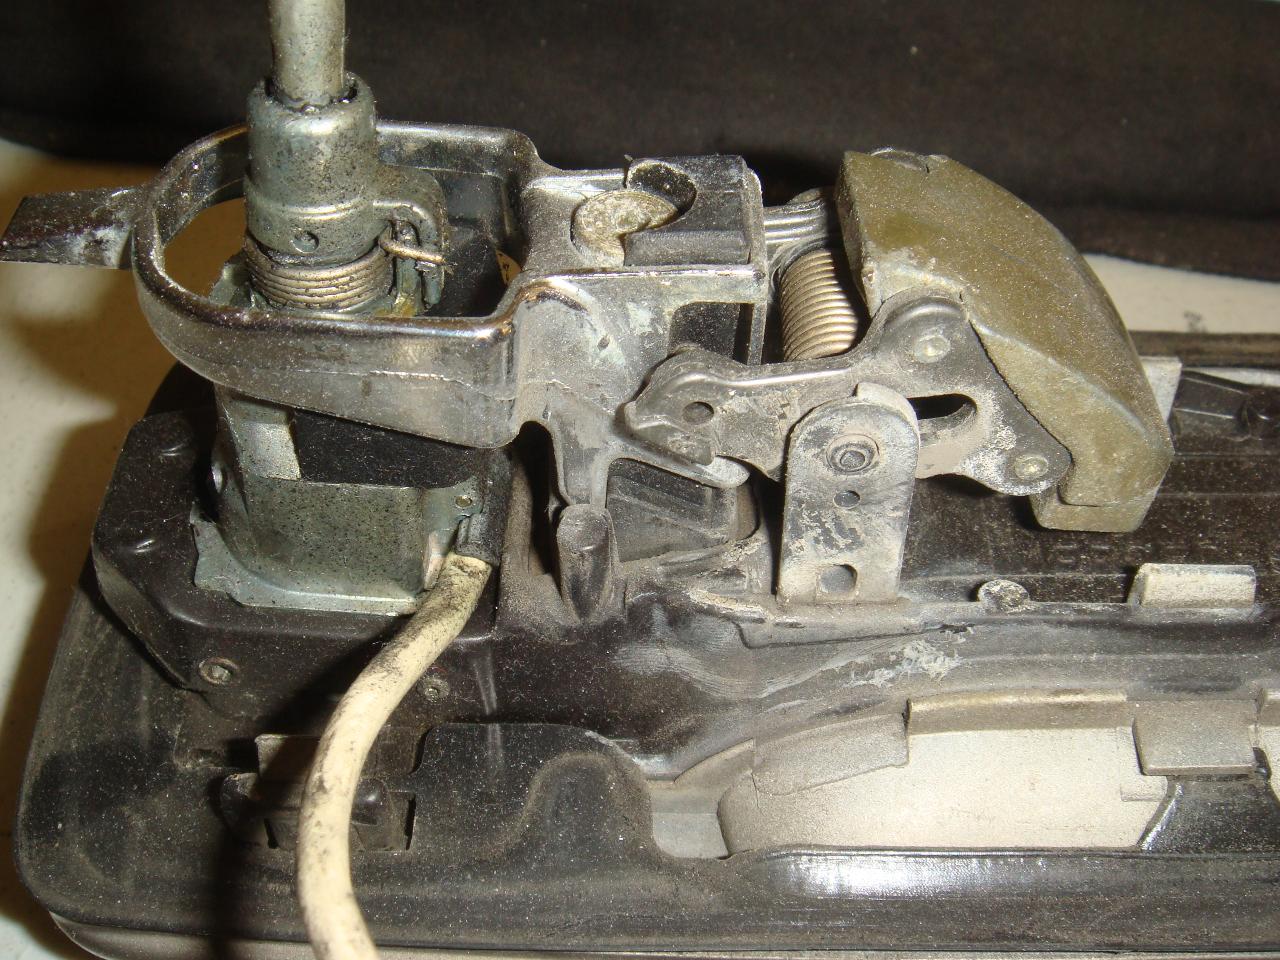
I will not get into why they designed it the way they did, they did and it is. Let's start with the simple stuff. The wire protruding out is for the door locks. When the key is inserted and turned in the lock or unlock position, a voltage either +12VDC or -12VDC is pulsed to the vacuum pump in the trunk and that pump kicks on in either vacuum or pressure to the vacuum lines going to the vacuum elements to the doors and gas door. Make sure that this wire is protected and in good condition.
You can see the door handle coming up through the middle and the Allen set screw holding it in. There is a counter weight on the right side and you see the round ring around the door lock and the little tab that protrudes? That is what trips the door latch to open the door.
How does the door lock? Glad you asked. The long shaft that sticks up on the left, it is what locks and unlocks the handle. It sticks into the "Element" and when rotated, it allows or prevents the handle from moving that tab, opening the latch. How is it rotated? Well the shaft fits into the Element and when the vacuum pump moves the element into the lock position, it rotates that shaft to the lock position and prevents it from tripping the latch when the handle is moved. It is a complex system, being an Electro/Mechanical/vaccum operated system.
So to recap: When you turn the key, an electrical signal fires the pump which moves all of the "elements" to either lock or unlock. The elements move the lock shafts which allow or deny you to engage the latches.
In the case of the gas door, the element moves a pin which latches the door locked or open. If you reach in the trunk on the pass side, you will feel the element and you can pull it open with your hand.
And so ends the theory, on to the dis-assembly:
So in this pic:
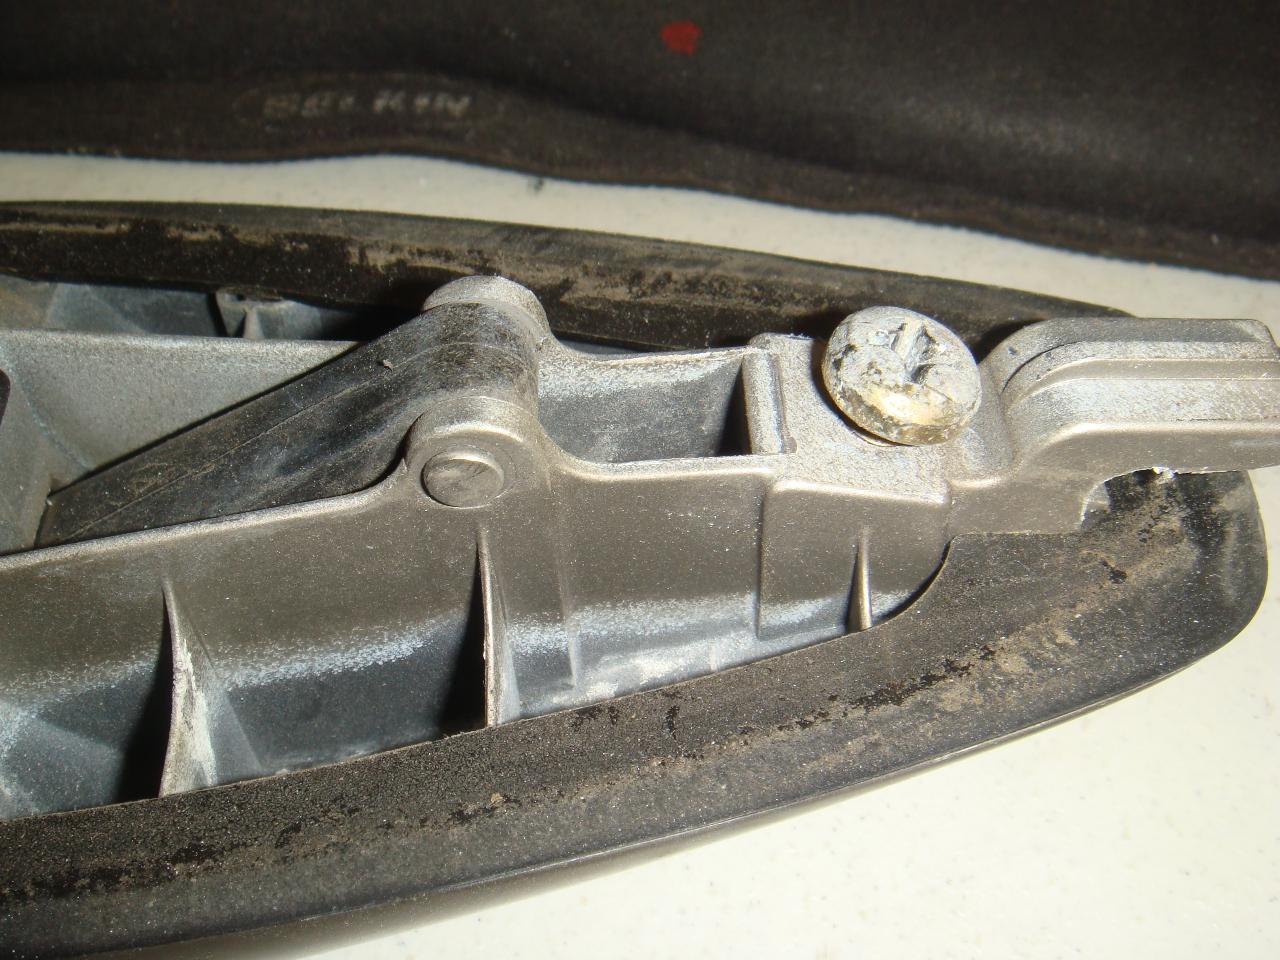
You see a large Phillips screw. That is what locks it to the door panel. The set pin on the left is what needs to come out.
Next remove the rubber gasket that protects the handle on the door panel:
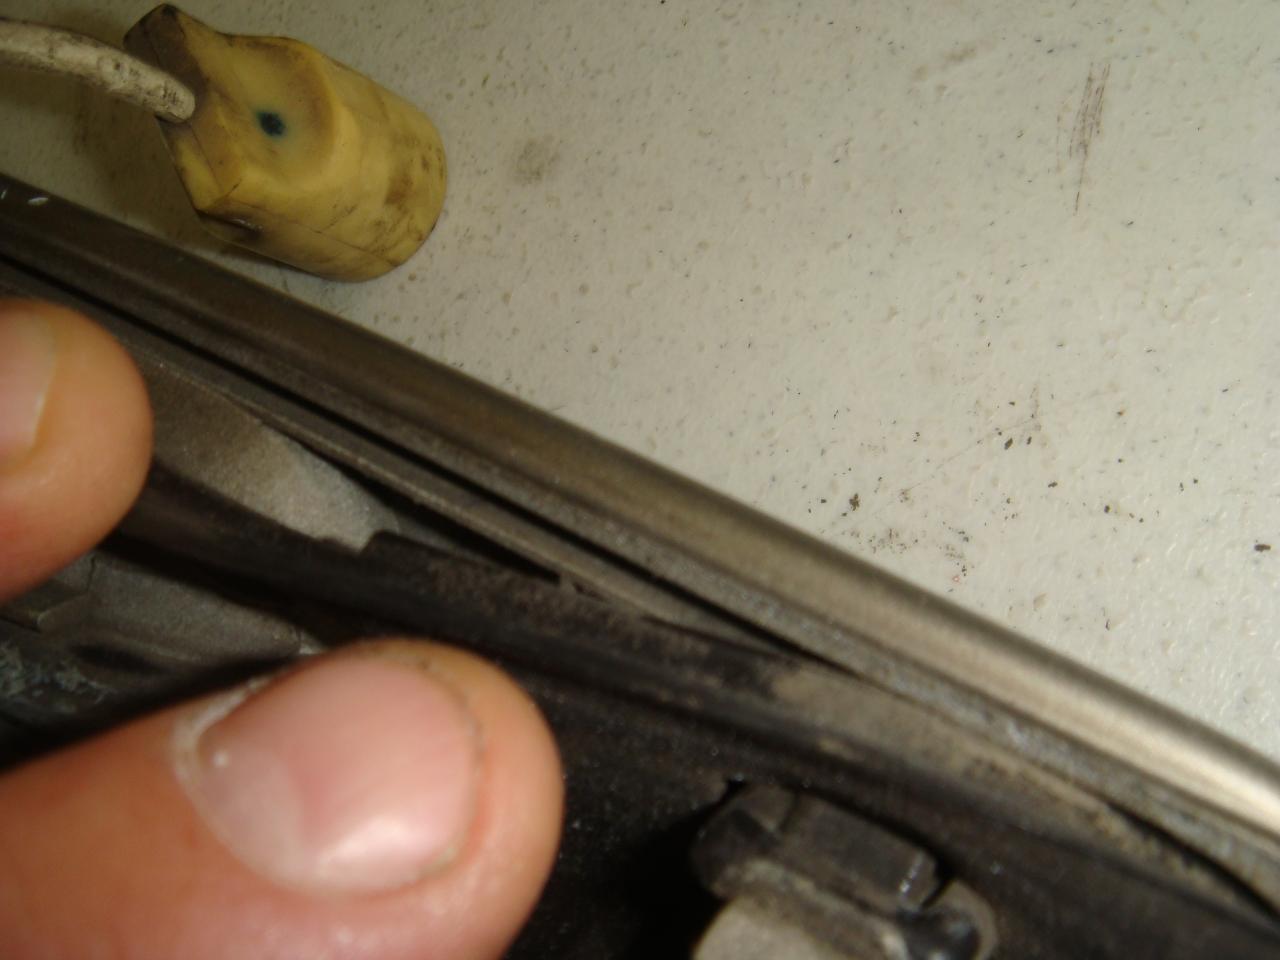
These gaskets should be replaced because they get hard and brittle. They are like $7.00 each I think.


